Table of Contents
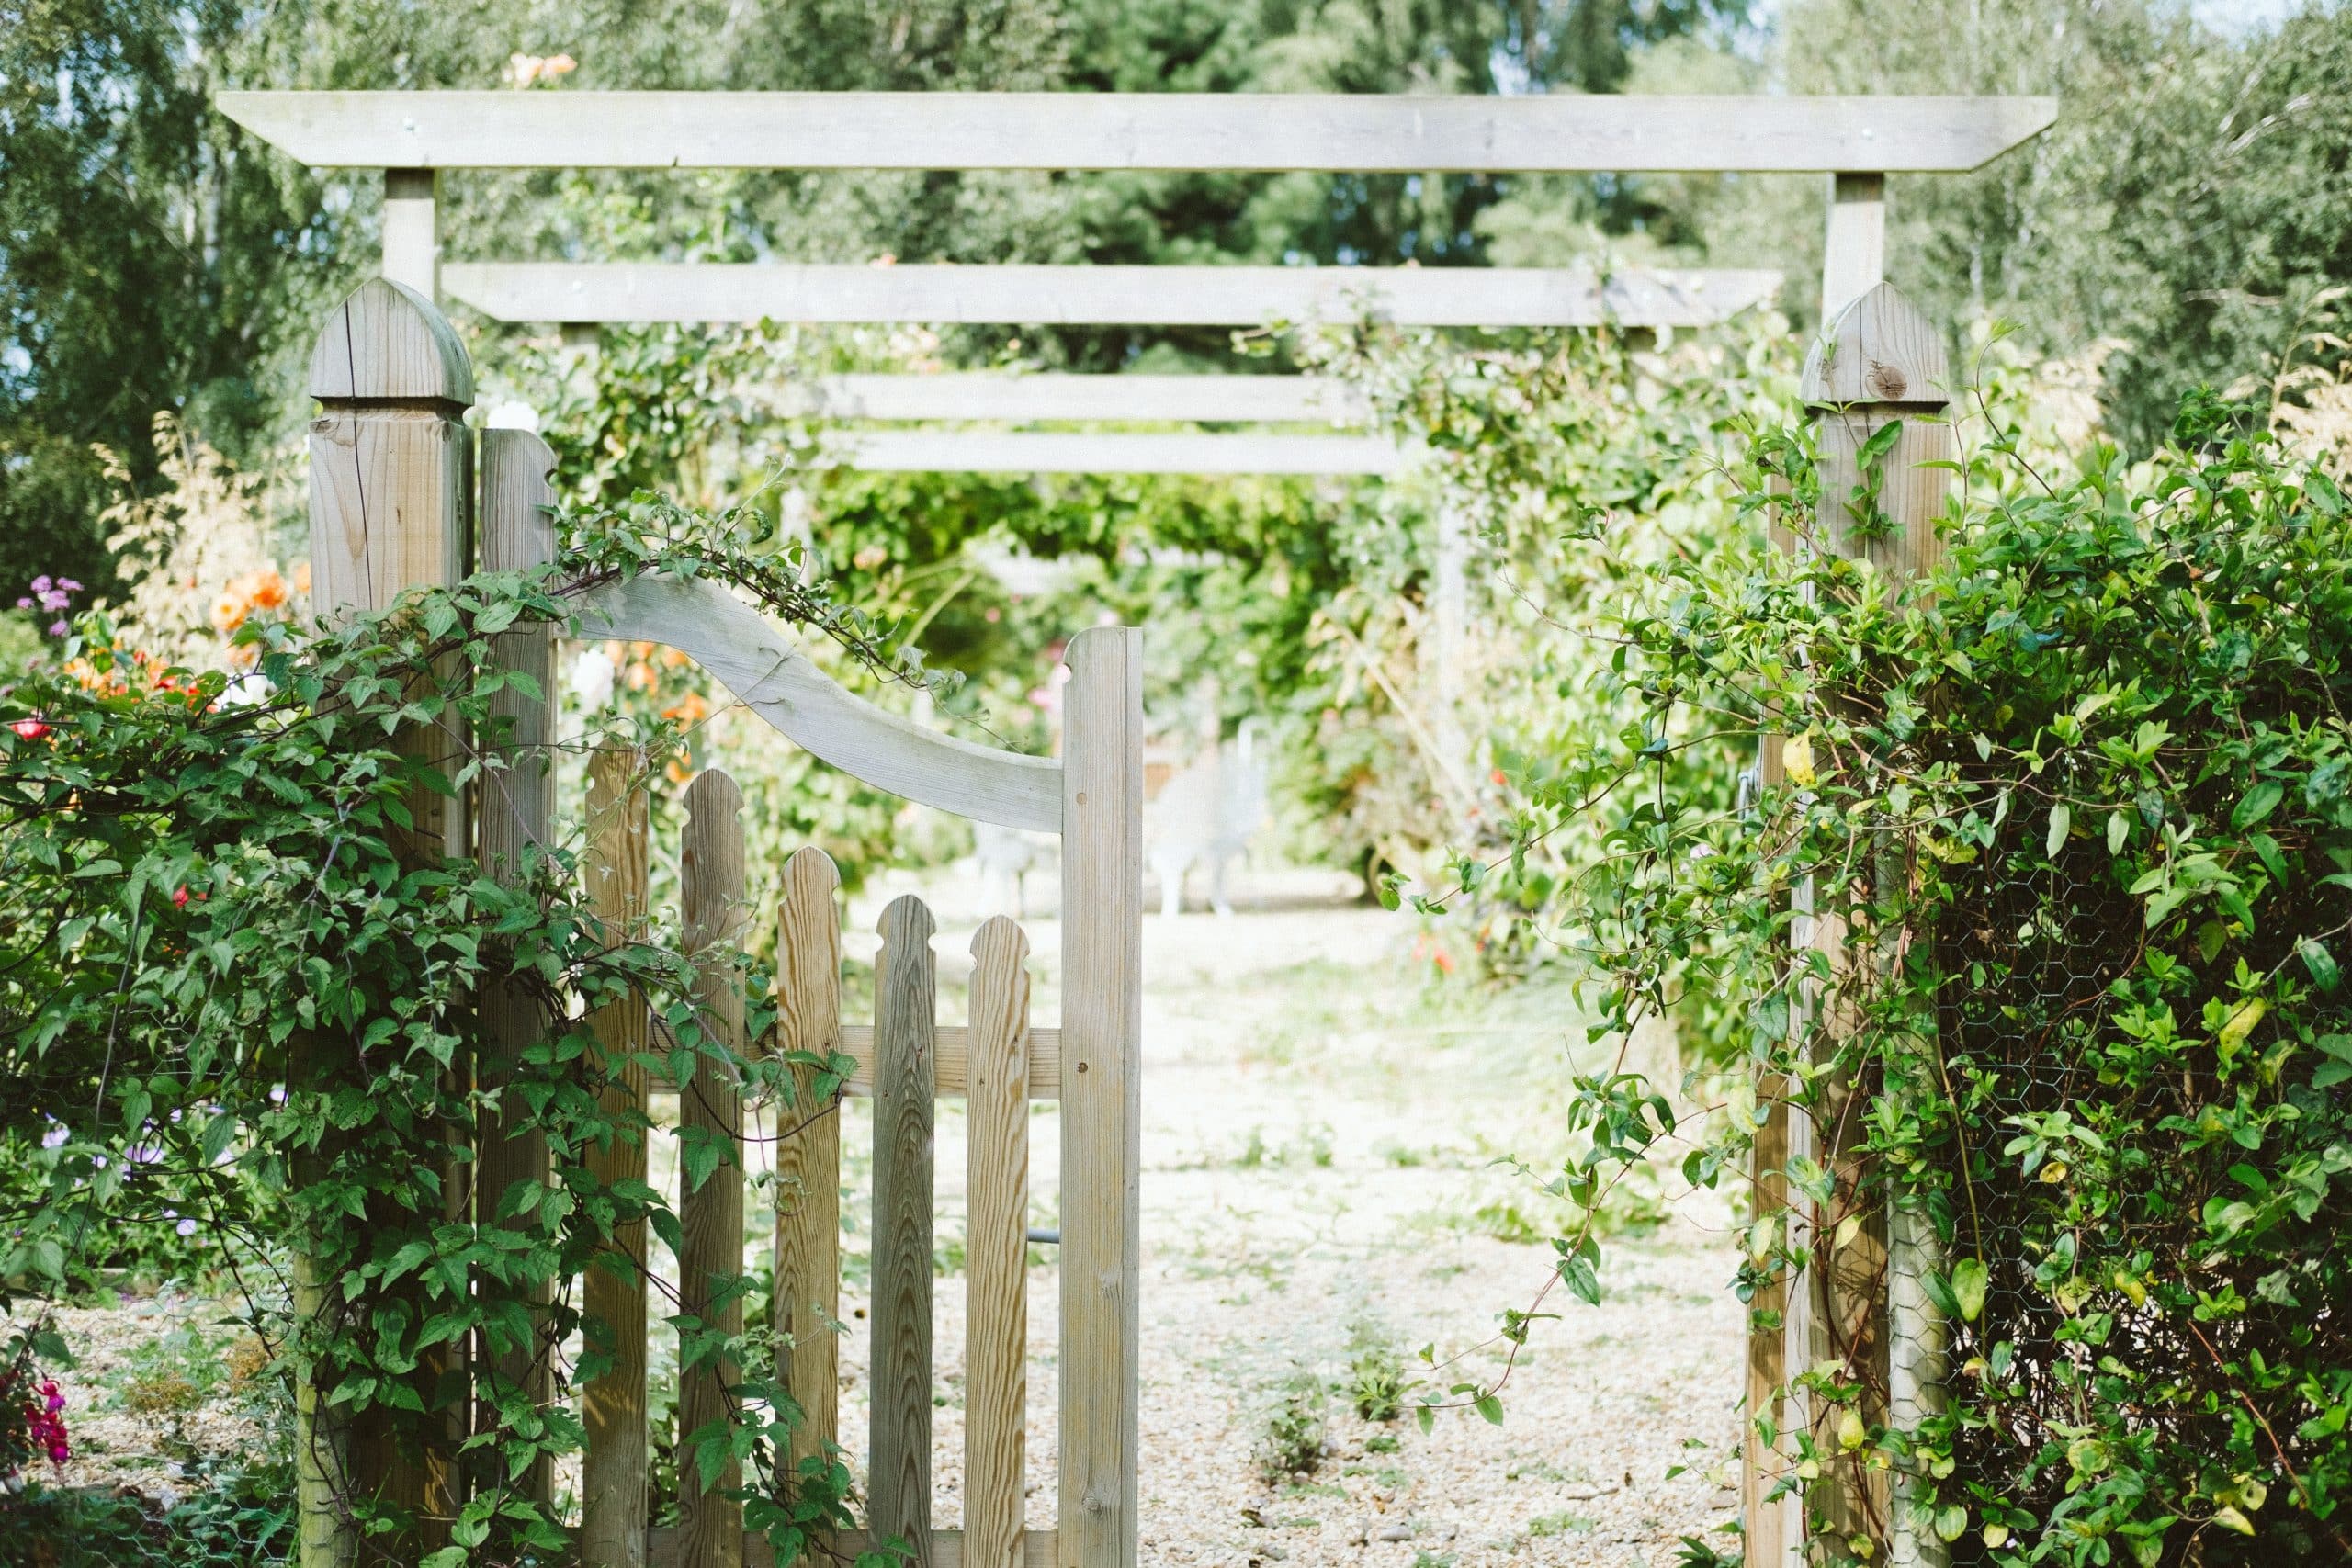
No one wants a lackluster entry to their lush jungle of tomatoes, sunflowers and green beans. That garden worked hard for that beauty! So what better way to add character and function to your green paradise than by constructing a garden gate all by yourself? This DIY guide will run you through the drill. From deciding on the design, choosing durable wood, learning about hinges to understanding the right measurement for that faultless fit – it’s got all you need!
Understanding the Basics of How to Build a Garden Gate
Building a garden gate isn’t rocket science. It really boils down to three things: careful planning, choosing the right wood for outdoor projects, and putting it all together, one nail at a time.
Deciding on Structure and Design
The structure and design of your garden gate hinge on two things – its function and your preference. You need to build the gate wide enough for your tools or wheelbarrows to pass through. Thicker timber like 3 x 2s or 75mm x 47mm would be ideal. You don’t want a toothpick-like frame wobbling every time a gust of wind passes by, nor a chunk of wood heavier than a bag of cinderblocks to pull every time.
Choosing the Right Type of Hinge
Tee hinges might be the common choice thinking their T-shape provides good stability. But why settle for common when there’s better? Say hello to band and hook hinges. These guys don’t just quietly sit on the sidelines of your gate. Nope. They go the extra mile, covering at least half the width for maximum support and lasting longer than most reality TV shows.
Selecting the Perfect Wood for Your Garden Gate
You need a tough cookie to stand up to Mother Nature’s mood swings. Sure, many DIY garden gates are built using pine panels, but let’s face it, pine isn’t exactly Rambo when it comes to fighting off bugs and decay. You need something a bit more rugged, like cedar or pressure-treated wood. If budget is an issue, no worries, there are economical ways around it. Used fence panels are a good deal, with some tough fence pickets thrown into the mix. They might need a bit of TLC, a trim, and a finish, but hey, they’ll do the job.
Measuring the Gate Opening Correctly
Size matters when you’re making a garden gate. Your gate’s fit should be just right – not too tight and not too loose. Ensuring the right fit is a matter of taking accurate measurements. Don’t trust a single measurement; things can get lopsided at the base. Take two measurements, then pick the smallest measurement and shave off 1/2″. This will give you room for some breathing space on either side of your gate – about a 1/4″ gap each side. Now you’re ready to saw off your chosen fence panel with your clearly marked measurement.
Tools and Materials You’ll Need for Building Your Garden Gate
Building something beautiful and functional like a garden gate needs more than just enthusiasm. You need the right tools and materials too. Fortunately, you don’t need to rob a bank or hire a sherpa to lug around your tools. Heck, you won’t even need a combi drill.
Essential Tools for Creating a Wooden Garden Gate
You’re not performing a heart surgery here, just building a garden gate. So, relax! The fundamental tools you need are pretty much what you find in a standard household toolbox. You’re going to need some basics like a circular saw to slice through timber, and a robust drill to create snug homes for each screw.
Key Materials for Garden Gate Construction
Equip yourself with some sturdy timber and a couple of cross braces to add some muscle to your gate frame. Round it off with sturdy gate hinges and latches, and don’t forget your structural top bar for that added artistic oomph. It’s not just for looks, though; it helps keep your posts parallel for a longer time against the constant tug and push of the gate opening and closing.
Timber
Timber is your Mr. Reliable when it comes to the mainstay of materials for building garden gates. It’s just like your old highschool buddy who may not have had all the bling but always had your back, you knew you could rely on him. Course, wood being wood and all, naturally different tree species can offer different characteristics, yeah, but they’ll all provide a solid and hardy finish. When you’re making your pick, ensure the timber you opt for is sturdy, weather-resistant and capable of keeping out those nosy-rosy neighbors.
Cross Brace
No folks, a cross brace ain’t a tricky wrestling move, it’s an integral part of your DIY garden gate. It’s as simple as joining the corners of your gate frame diagonally with a strip of lumber. The cross brace’s job? He’s like your grumpy old gym coach, adding that extra strength and stability, telling your gate to straighten up and stay rigid. So grab that ruler and a pencil to mark the cut lines on your timber, and blade through with precision to create the brace. Don’t forget though, cuts should be to their point, like a gossip lovin’ granny on a Saturday night.
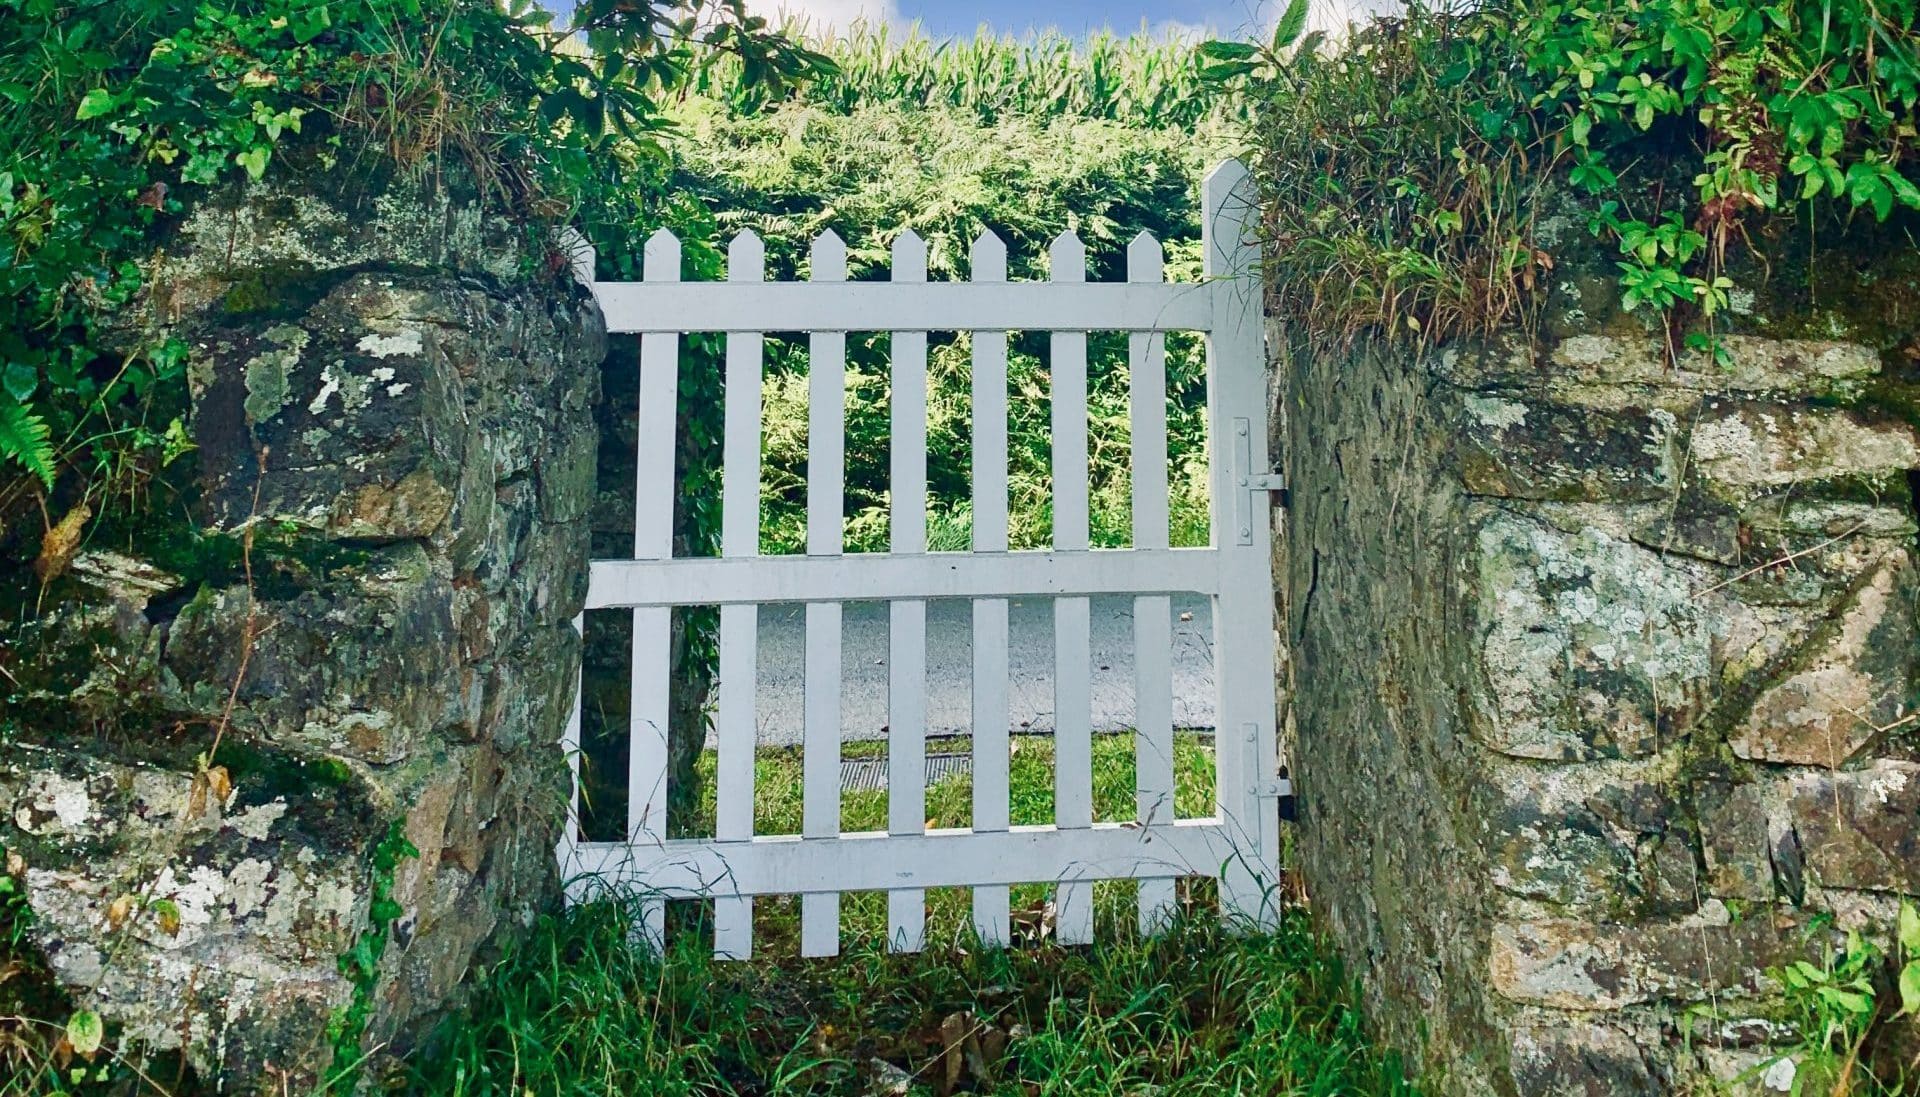
Gate Hinges and Latches
Gate hinges and latches are like the unsung heroes, the Jan Brady’s of the garden gate world. Yep, they don’t get a lot of attention but boy do they make a difference. Hinges assure smooth swinging action, keeping that gate from sagging like an old man’s trousers. Latches ensure security, giving you peace of mind that your prized cabbages and beautiful roses are safe from unwanted guests. So be smart about picking your hinges and latches – as the gate whispers, pick me, pick me!
Step-by-Step Instructions to Build a Garden Gate
Put on your work gloves mate and pick up your toolkit – it’s time to construct your dream garden gate. Oh boy, this is gonna be one heck of an adventure, so tie your boot laces and let’s step into it right away.
Constructing the Inner Frame of the Garden Gate
Awright mate, let’s crack on, first things first – the inner frame of that garden gate. Think of frame building as creating the skeleton, this thing needs to be as solid as a rock, no kidding. And remember those horizontal pieces are the gate’s spine, they gotta be strong enough to hold that beauty together. All set? Now, grab your lumber and saw, let’s start cutting’. Hang in there, soon you’ll have a frame sturdier than Aunt Patty’s bite.
Attaching the Feather Edge Boards to the Garden Gate Frame
Got your gate frames ready? Brilliant! Now it’s time to get those feather edge boards on the garden gate frame. No clue what feather edge boards are? Think of them as the gate’s skin, they cover the frame and add that all-important touch of style. It’s a pretty straightforward process, though one pro tip and a half here, to get the spacing on point, first lay all the boards on the frame. Heed my words, perfect spacing is as precious as the last slice of Mom’s apple pie, you simply cannot mess it up!
Fitting Band and Hook Hinges
It’s high time to lock and hook, install those band and hook hinges on. Much like folks connect at a rock concert, the horizontal pieces on the gates need to mingle well with the hooks and bands of the hinges. Leave a 5mm gap and attach all hinges with wood screws. Like a well-taught orchestra in sync, your hinges shall roll in harmony with the gate frame. Patience folks, a bouncing gate awaits you.
Installing the Gate: Hanging and Fitting the Gate on the Posts
All right gang, time to hang that beauty and let it swing! Now, make sure you have your lag screws, rounded edges, coach bolts, and a sturdy brace to keep underneath the gate. It’s like hanging that punch bag in your garage, make sure it’s well fixed to prevent any mishaps. Get the gate latches in place, and voila! Your hand-crafted gate is ready to stand tall and proud by that garden fence.
Dealing With the Challenges of Fitting the Gate
Gates, they can be a tough bunch, with fitting them often a bigger battle than a full-blown food fight at the kiddos’ birthday party. You’ve got uneven terrain, tricky post alignment issues, and let’s admit it, sometimes just a downright stubborn gate! But hey, that’s all part of the fun in DIY, it’s those sweet little challenges that make the victory dessert taste even sweeter.

Finishing Touches to Your DIY Garden Gate
Pop the champagne, the hard-grind behind that DIY garden gate is all over now. Let’s talk final touches to make that gate shine like the brightest star. Go on, pick up that wood stain, those gate hinges, and exterior wood screws, because we’re about to make the gate as stunning as a Hollywood superstar on the Oscars’ red carpet. Trust me, after this, your gate is going to look more glamorous than you’d ever imagined.
Making the Gate Topper or Arch From Leftover Scrap Wood
Speaking of making things shine, what about a gate topper or arch leftover scrap wood? We’ve gotta use that ol’ wood lying around, right? It’s more versatile than grandpa’s stories on a Sunday afternoon. Now grab those “x 4” pieces, slice ’em into a 1 x 6 profile and lather them up with 2 coats of protective stain. Clever you! Made a crowning jewel from leftovers, now that’s what I call a DIY spirit.
Preventive Steps to Increase Your Garden Gate’s Longevity
To ensure your garden gate relishes a longer lifespan, consider areas that generally wear out first. Begin with attaching the hinges to the middle of each rail using screws provided. Produced before the farm-to-table era, scrap wood shims are the upcycled heroes to be used to maintain a uniform gap from the bottom and sides. Utilizing it at the bottom is also beneficial for elevating the gate from the ground. Why, you ask? Because green grass is a moisture magnet! And you, the master craftsman, would know moisture and wood go together as well as chalk and cheese. Speaking of cheese, don’t be one and forget to check the gate level. You want your gate swinging smooth, not like its learnt hip-hop.
Installation and Proper Use of Gate Stops
Gate stop installation, although short of being a Friday night highlight, is a crucial aspect. It has a stiff upper lip against constant opening and closing pressures. Who needs gym sessions when your gate swings and twirls like a ballerina several times a day? A gate stop’s a mean bouncer, it asks the swinging gate to calm down and keeps your hinge healthy too. Building gate stops isn’t an art school project, but their role is as starring as the ladybug in ‘A Bug’s Life’.
Additional Tips to Master the Art of Building a Garden Gate
Building a gate is like cooking eggs – easy to execute but tough to master. However, when you do master it, persistence becomes the special sauce of this DIY sandwich. Remember to add an arch/post top bar for charm and structure because design and functionality should hand-hold forever. Maintain equal distance from the posts, akin to kids in a school line waiting for their turn to sip the water fountain. One step aside and you’re inviting the bully called ‘imbalance’.
Safety Precactions While Building a Garden Gate
When in the DIY field, don’t forget to pack the first aid kit. Safety doesn’t take a backseat, whether you are jumping off cliffs or hammering nails. While creating an arch/post top on the gate posts, ensure you’re donned with secure gloves and safety eyewear because you’re a DIY enthusiast, not a glass-eyed pirate from the 14th century. Building a garden gate, although no life-and-death battle, can throw in a few woodworking mishaps. So, get that skin armour on!
Maintainig Your Wooden Garden Gate Over Time
The apple of your DIY eye, the wooden garden gate, is no one-time show. Its glamour can wane without regular maintenance. A fresh paint stroke and sanitizing the wooden fence with exterior wood glue can keep all its sparkle intact. Hit up all your favourite tools, collect all the scrap wood like a squirrel hoarding nuts for winter, and brace yourself because the maintenance journey is as adventurous as a DIY roller coaster. Regular check-ups, nudges, tweaks and a teeny bit of cross bracing and behold! Your garden gate shines like the North Star, every year.
Innovations – Making a Gate That Is Easily Disassembled
Imagine a gate that believes in change. A gate that easily disassembles when redecoration rings or necessity asks for a door instead. This isn’t a dream by a DIY enthusiast in a carb-induced-coma, it’s possible! Create rectangular frames, add x 5 or x 4, brace it, and get the magic rolling!
The Benefits of a Disassemblable Gate
A disassemblable gate is the dynamite in a pool of gates. A mate that isn’t high maintenance, needs no soothing words to stay in shape, and morphs according to your evolving tastes. Want to replace it with a stoned wall for your IG shots? Do it! Your whimsical disassemblable gate doesn’t get heartbroken!
First Time Building a Garden Gate? Here’s Some Help!
The debut attempt to build a garden gate is akin to the first pancake you ever flipped – it probably got burnt, the batter seeped out, and you ended with a broken heart. But hey, did you stop making pancakes because it swung past the pan and not within? No, right! You turned the air blue, maybe walked in circles, and tried again – and weren’t those pancakes fluffy heaven? Similarly, gate building will be no rose garden initially, but the key to becoming a gate-construction-whiz lies within the nutty mess of your first attempt.
Utilizing Video Guides to Better Understand the Building Process
If books were the prequel to the internet era, video guides are their cool, hip sequels. When building a gate, a digital buddy guiding you with a play, pause, and replay button is a blessing better than rain in a desert. Hit that play button, watch the expert perform magic with diagonal cross braces, and watch it over again. After all, replication is the sincerest form of flattering a DIY tutorial.
Budgeting for Your Garden Gate Project
The finances drained in building a garden gate can be tamed rightly by planning a budget. Even DIY wizards commend the idea of budget-making because it showers the reward of balance between wishes and wallets.
Approximate Costs of Building a Garden Gate
Reading a run-down of costs is as delightful as a math class in fifth grade. However, it’s the mandatory ritual before beginning the garden gate project. The estimate can stun, stagger, or delight based on your expectations, but hey, at least you aren’t counting the cost after the storm has hit!
Finishing Your Project: The Satisfaction of Building a Garden Gate
The satisfaction that comes with accomplishing a DIY task like crafting an exquisite garden gate is immense. You’ve tackled all the challenges, perfectly measured the thickness of your gate, placed every piece of the frame in place, and now you have a structure between the posts that not only adds to your home’s curb appeal but also ensures safety of your kids or pets. A tip of the hat at that!
Finally, Take a Look at Your Completed Project
Once the dust settles, you need to stand back and admire your handiwork. Inspect how well the gate fits. Is it sitting square? Is the gate opening smoothly? It’s like being an artist studying his painting or sculpting masterpiece. You’ve got to soak up all the details just like a chef would admire a perfect souffle, without the delicate timing and heart-stopping moments of waiting!
The Last Step: Enjoy Your New Garden Gate!
Once you’ve attached the hinges and let the gate swing, it’s time to enjoy the fruits of your labor. The safety, the wooden patterns, or even the quiet satisfaction of knowing you built this, it’s the cherry on top of a dessert called effort.
The Emotional Payoff of Building Your Own Garden Gate
At the end of the day, the real deal isn’t just about nailing some boards together. It’s about the accomplishment that comes with seeing a project through to the end! It’s kid-like joy, and hey, you’re not just making qualifying purchases here. Rather, you have created a fusion of practicality and aesthetics. A gate that will not only stand firm for years, but also adds a personal touch to your home.

I’m John, a “seasoned citizen” and an avid gardener. I live in Minnesota, where our weather and growing conditions can be harsh and challenging. Over the years, I have learned a thing or two about being successful in growing things. I have curated these tips, which I think are helpful for the beginning gardener and the seasoned experts. If you have feedback, let me know in the contact form.