Table of Contents
There’s no rule in nature saying gardens gotta be on level ground, right? So, if you’re looking to transform an unimpressive slope in your backyard into a blooming beacon of botanical beauty, a tiered garden is your best bet. You see, our leafy friends prefer flaunting their colors on a raised platform over wallowing in a soggy puddle of clay soil. So, think of a tiered garden as a high-rise residence, where each suite offers ample space, resources, and sunlight to the guests.
The wisdom lies in going downhill in style. The clever little tier gaps between the garden beds act as speed breakers, slowing down water runoffs, and allowing ample time for the soil to absorb the moisture. Like serving a lavish buffet to the plants, every time it rains. Yeah, it’s natural, it’s smart, and it’s blooming exciting! The uphill battle of making a flat garden work is over. It’s time to work that slope to your benefit.
But remember, designing a tiered garden on a slope involves more than just sticking flowering plants on a stepped structure. To keep it thriving with minimal stress, you gotta understand the local building regulations, determine the size and dimensions of your garden tiers, and gather the essential tools and necessary materials. Dig in and let’s level-up that slope together, shall we?
Initial Preparations for Building a Sloped Garden
Alright, so the first thing is to put that thinking cap on and strategize. You can go pro and opt for those fancy tiered gardens using raised beds, but remember, they’re a bit fussier than regular tiered gardens. It’s like the difference between constructing a two-story building versus a skyscraper. Also, they might require you to pump up the planter boxes for a level playing field, so check if you’re up for the extra task. Oh, and the vertical support bars! They’re like the braces that keep the raised beds from going haywire. If you want to keep it basic and breezy, just start with a regular tiered set-up sans those bars. It’s all about weighing the pros and cons before hitting the ground running.
Understanding the Local Building Regulations
Now, initiating a mega project like terraforming your hillside into a tiered garden involves quite a bit of digging, quite literally. But before you snatch that shovel, pump the brakes. You see, there might be hidden utility lines, like water pipes or electrical cables, keeping a low profile underneath. Damaging these can knock you into a world of hurt, not just physically but legally. Plus, habitat conservation regulations may butt in if the construction threatens local ecosystems. Not to mention if you’re aiming high, your terrace could also bump into local building norms. Like, for folks over in Seattle, a 4-foot retaining wall could welcome an official notice if not permitted. Hence, do your homework, respect the line of law, and then roll up your sleeves for action.
Identifying the Size and Dimensions of the Garden Tiers
Size matters, especially when it’s about a tiered garden. Gauging the dimensions of your slope helps you chisel out the perfect plan for your terrace garden. It’s like working out a blueprint in advance to maximize sun exposure and regulate soil moisture. Kick things off by flagging the lowest and highest points of your slope, then map out a straight line between them. Yep, that’s your run. Now, deduct the height at the bottom from the top of the slope to get your rise. Based on these measurements, you can nail down the specs for each terrace. Say, if your slope has a run of 30 feet and a rise of 10 feet, consider making five garden beds each of which is 6-feet wide. Now that’s some strong garden math!
Gathering the Essential Tools and Materials
Every journey starts with the first step. For your blooming journey, it’s gathering the essentials. Remember, the gear you pick now will shape your tiered garden in the future. Like a measuring tape, for instance. Might look humble, but it’s the secret to getting those symmetry-perfect tiers. So, whether you’re looking for the standard shovel and rake or hunting high and low for that perfect material for your raised beds, make sure they are sturdy enough to take a bit of rough and tumble. You’ll need to compare and contrast varying options for your raised beds, both in materials and designs. But hey, no sweat. A bit of scratching and digging does wonders, trust me!
Breaking Ground for Your Tiered Garden on a Slope
Navigating the rough terrain of a sloped lawn can require some major gumption, but don’t back down! Embrace the unique opportunities that a sloped lawn provides. With the right methods, you won’t be left high and dry, instead, you will have a garden full of lush goodies. It might feel like taming a wild buck, but with patience and perseverance, it will become your fertile field.
Determination and Excavation of the First Garden Bed Trench
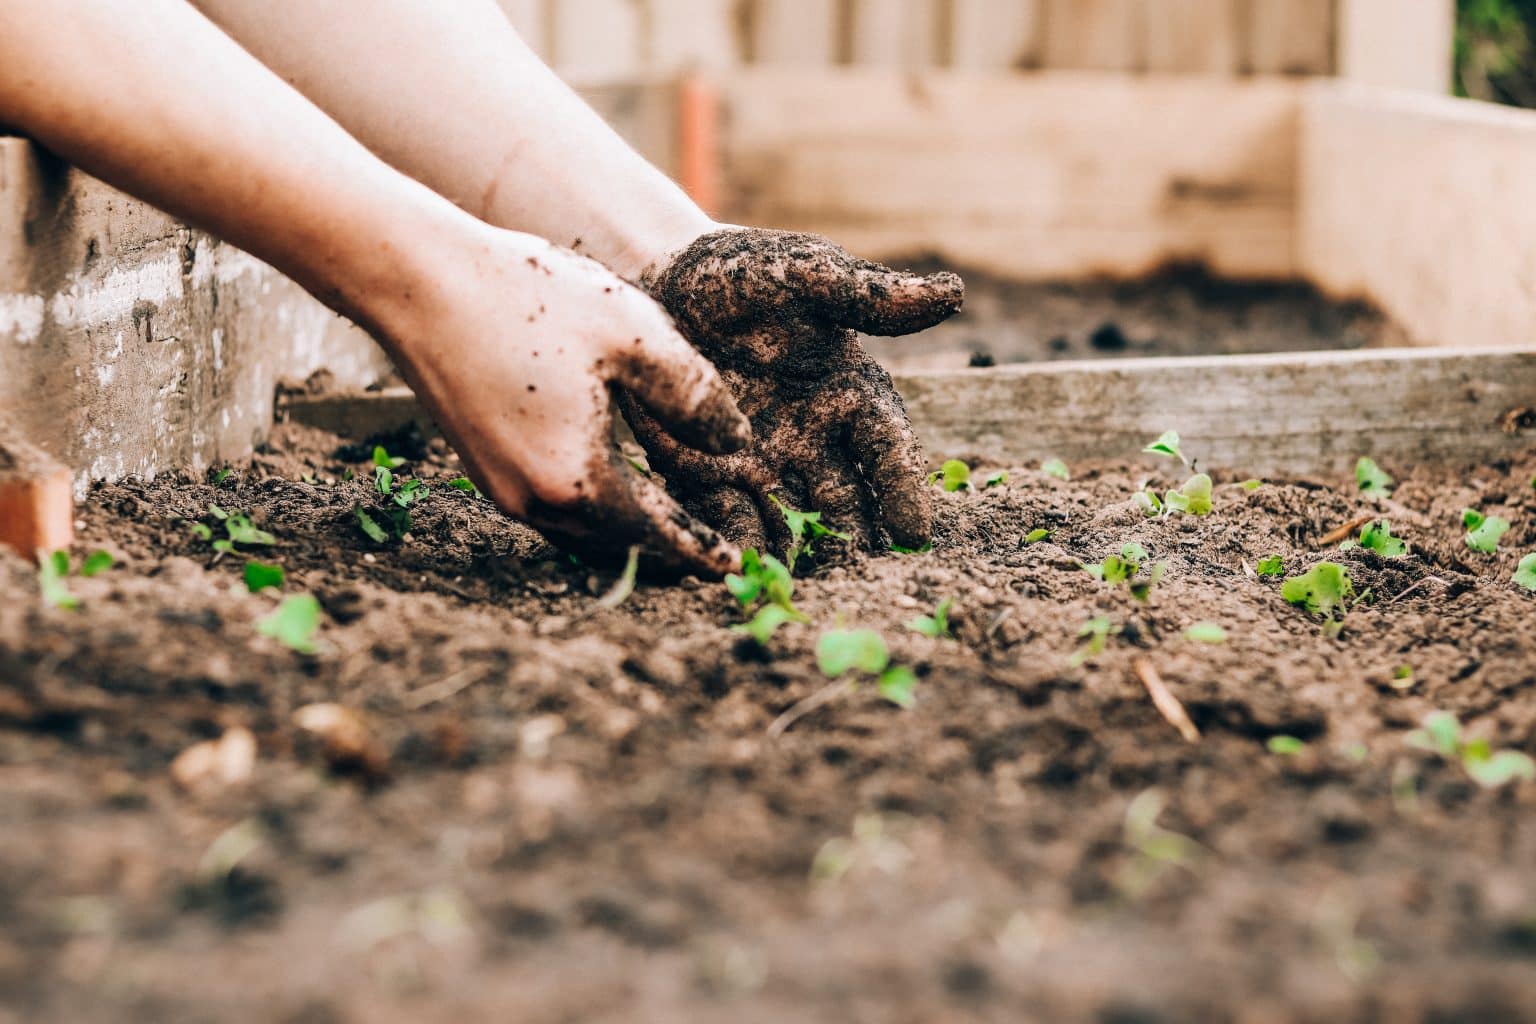
Saddle up and dig a trench to corral your plants. Handle that steep slope like a seasoned cowboy on a mountain pass, marking out the wild frontier of your future garden bed. You’ll have to be a vigilante on the lookout for uneven soil. The entire trench must have the same depth of soil to ensure that each plant gets their fair share of rainfall. Run a level over it, consider it as your trusted ally, to ensure the soil is even from end to end. Think of it like dealing with a feisty horse, once you have it broken in right, the rest will be smooth sailing.
The Process of Constructing the First Garden Bed
It’s not the Wild West anymore, but the spirit of forging a fresh start remains the same. After the trench, it’s time to shape the bed which is like lassoing a wild mustang, it’s pretty challenging but also a lot of fun. Make sure the depth corresponds to the height of your future retaining wall. Now, drop in your timber piece acting like it’s the sheriff in town and set down everything is level. Do the equivalent of a horse recheck before letting the timber piece settle in. A well-built bed will reap fruitful benefits soon.

Incorporating Drainage Solutions in Your Tiered Garden
Gardening on a sloped lawn can make one feel like they’re at the bottom of a waterfall after a storm, where water runs off faster than a jackrabbit in a desert. Correct water management is crucial here. Incorporating drainage solutions will ensure that the water doesn’t erode your precious garden while also providing necessary hydration to your plants.
Installation of Drainpipe for Effective Water Drainage
In the Wild West, we say sometimes the best pioneers make the best routes, and that’s what you’re doing with your drainpipe. Lay it down in your vegetable garden and cover it with landscape fabric like a cowboy covering his caravan. Sprinkle gravel all around, layer on some more fabric, and your terrace garden is set to take on any rainstorm. Now, fill the bed with soil, patting it down like a trusty old hat. See? Your garden is ready to deal with any gully washer without the risk of turning into a muddy quagmire.
Expansion of Your Tiered Garden
Like any good pioneer, you’ve broken ground, built a stable garden bed, and even rigged up some darn good drainage. Now, it’s time to expand. A tiered garden can be as big as your dreams, flaring up like a good old prairie fire. So gather your grit and carefully start to expand your gardening frontier.
Repetition of the First Bed Construction Process for Additional Garden Beds
Create a sense of continuity by repeating the process used for the first bed to build your other tiered garden beds on the slope. Just like replicating a winning lottery ticket (wishful thinking, eh?), repeat the steps taken from laying down the foundation to filling up the bed with soil. If you want a three-tiered garden, perform this process thrice. Presto! You now have a series of raised garden beds on a slope, ready for some serious planting.
How to Maintain Uniformity in all Garden Tiers
Uniformity is the key to a neat and visually appealing tiered garden, and achieving it is a lot like keeping a straight face in a game of poker! The size of your hill and the calculations made on the incline and distance will set the groundwork for creating harmonious tiers. Insert two pegs at the top and bottom of the slope, drawing tight a level string from one to the other. You’d then measure this string, which represents the distance covered laterally (or run). A good ‘ol altimeter helps find the difference in height (or rise) of your slope. Finally, divide your rise by the number of tiers you plan – now you have a blueprint for a balanced and symmetrical garden. Not too shabby at all for a little math, eh?
Alternatives for Improving Sloped Gardens
There’s more than one way to skin a cat! If you’re looking for an alternative approach to improving your sloped garden, consider swapping out the use of wood to create terraces for stone. Not saying you’ve got to be a stonemason, but using paving slabs or maybe a mix of rocks and boulders, you can build some sturdy retaining walls to create defined planting areas. But remember, if your walls are going to be higher than Chipper Jones (over 3 feet), you might need a permit. Stick to the tried and true method: dig a trench about 12-inch deep, line it with gravel and coarse sand, then stack ’em up like pancakes. And for added stability, don’t forget to use unique stones in the third layer as an anchor, like putting queen’s pawn to queen’s bishop. You’re building your own garden, Great Wall style.
The Reality of Building Raised Garden Beds on a Slope
While tiered gardens are a fast-rising trend, especially for lovers of slope-side gardening, building raised beds on a slope requires a modicum of craftiness. You wouldn’t balance a see-saw with a sumo wrestler on one end and a feather on the other, would you? With the same balancing act in mind, you’re going to have to elevate one side of the bed to keep things level. Don’t forget to grab your trusty level and make sure it’s flat from top to bottom – remember to avoid creating a garden slide, where your nutrients seep away faster than a kid with his hand caught in the cookie jar. On top of the X-2 lumber, attach the hardware cloth using wood screws (good old Phillips-head should do the trick). Insert wooden stakes in each corner for bonus support. Lastly, get that rich potting soil in there – it’s the “meat and potatoes” for your veggies, providing all essential nutrients. The result? Layers of wooden beds ready for vegetable growing. Now ain’t that something?
Advantages and Disadvantages of Raised Beds on a Slope
As they say, every rose has its thorn. The same applies to building raised beds on a slope. On the bright side, these elevated patches of earth do allow for better water runoff, consistent soil conditions, and an extended growing season due to warmer soil. However, on the flip side, you might need to buckle in and pull out the elbow grease. Raised beds will require support bars for stability. Think of these support bars as corrals for your hungry crops, keeping them from leaping over to explore the other side. So yes, while raised beds may be the bee’s knees for some, for others, it may not float their boat. But hey, there are as many ways to garden as there are seeds in a pomegranate – it’s all about finding what works for you.
Unique Challenges and Solutions for Sloped Garden
Navigating the undulations of a sloped garden can be quite a task, especially when building a tiered establishment. Implementing a tiered garden on a slope can introduce unique challenges like persistent weed intrusion and soil erosion. Nonetheless, these problems aren’t insurmountable. With the right tools, knowledge and a bit of elbow grease, establishing a beautiful and productive sloped garden can be achieved.
Managing Weed Growth in Your Tiered Garden
Weeds, pesky little plant intruders. Every gardener’s Achilles heel, right? Well, managing weed growth in a tiered garden can be labour intensive, but it doesn’t have to be. Regular maintenance, particularly during early mornings when weeds are easier to pull out, can help keep them in check. Remember, nip them in the bud before they spread. A thick layer of mulch also works wonders in keeping weed growth at bay.
Mitigating Soil Erosion in Sloped Gardens
Layer your cake and eat it too. Just like a layered pastry, a well-thought-out tiered garden on a slope cunningly mitigates soil erosion. With each tier deftly curbing the downward movement of soil, unwanted slips and slides can be a thing of the past. Employ organic compost or grass seed to significantly improve soil structure, promote root development, and minimize soil displacement.
Benefits of a Tiered Garden on a Slope
Now, if you’re thinking that all that hard work doesn’t come with any rewards, then you’d be mistaken. Apart from adding a unique aesthetic to your yard, having a tiered garden on a slope offers increased soil aeration, enhanced nutrient absorption, and yields a healthier, richer ecosystem for growing vegetables and various plants.
Increased Soil Aeration
In the world of gardening, fresh air isn’t meant just for you and me. Your garden wants a breath of it too. A tiered garden on a slope provides efficient soil aeration. The layout lets plants spread out comfortably, allowing roots to breathe easy and grow better. Plus, after time, the soil will settle, further improving aeration. Who would’ve thought that a bit of gravity can make such a difference?
Enhanced Nutrient Absorption for Plants
It’s not just about the look of it. When we build a tiered garden on a slope, we create a restaurant buffet for plants where nutrient absorption is significantly enhanced. The magical combination of improved aeration, sunlight exposure, and gravity aid water movement, carrying essential nutrients to plant roots. This creative feat of gardening can stabilize the soil and provide a nutrient-rich party for your plants.
The Assembly of an Organic Eco-System With Minimal Effort
Newsflash folks, a tiered garden is a mini ecosystem in the making. It’s not just about the plants growing in those lush vegetable beds. And no, we’re not stirring a witch’s brew here, but we are talking about the amazing community of critters, insects and microbes that settle in your tiered garden beds. It’s like their own small town within your hillside garden. No need to swing the door wide open for the pesky ones – your trusty weed membrane acts like the traffic warden that keeps the bad out. Rock cress makes a fine stepping stone in the ecosystem – linking the dots between the land of the big and the tiny inhabitants of dirtville.
Wrapping up Your Tiered Garden Journey
So, we’re heading into the home run of our garden journey. We’ve talked about everything from managing soil erosion to the magic of creating mini eco-system; shovels to stepping stones. C’mon folks, it’s no walk in the park, but it’s doable. And the best part? No more stressing about the weight of the soil on untreated pine or the right angle to build your garden beds on a 45 degrees slope – yep, we covered that too. All the tools in your shed, from the humble hammer to the mighty bulldozer, finally have a purpose.
Revel in the Aesthetics and Functionality of Your Sloped Garden
From the humble beginnings of untouched wilderness, now stands a great structure of terraced garden beds, wrapping the slope in a hug. It’s more than a steep canvas painted with green – it’s a functional hillside garden proving its mettle against all odds. The wooden deck perched above the garden is a perfect vantage point to see the hillside brighten up with a dash of beautiful flower power from rock cress. From this throne, you can admire the perfection of the garden tiers that work oh so harmoniously to soften the harsh slopes. And let’s not forget the BBQ shelter livening up the corner, calling you to enjoy the fruits of your labor while enjoying a well-deserved party.

I’m John, a “seasoned citizen” and an avid gardener. I live in Minnesota, where our weather and growing conditions can be harsh and challenging. Over the years, I have learned a thing or two about being successful in growing things. I have curated these tips, which I think are helpful for the beginning gardener and the seasoned experts. If you have feedback, let me know in the contact form.