Table of Contents
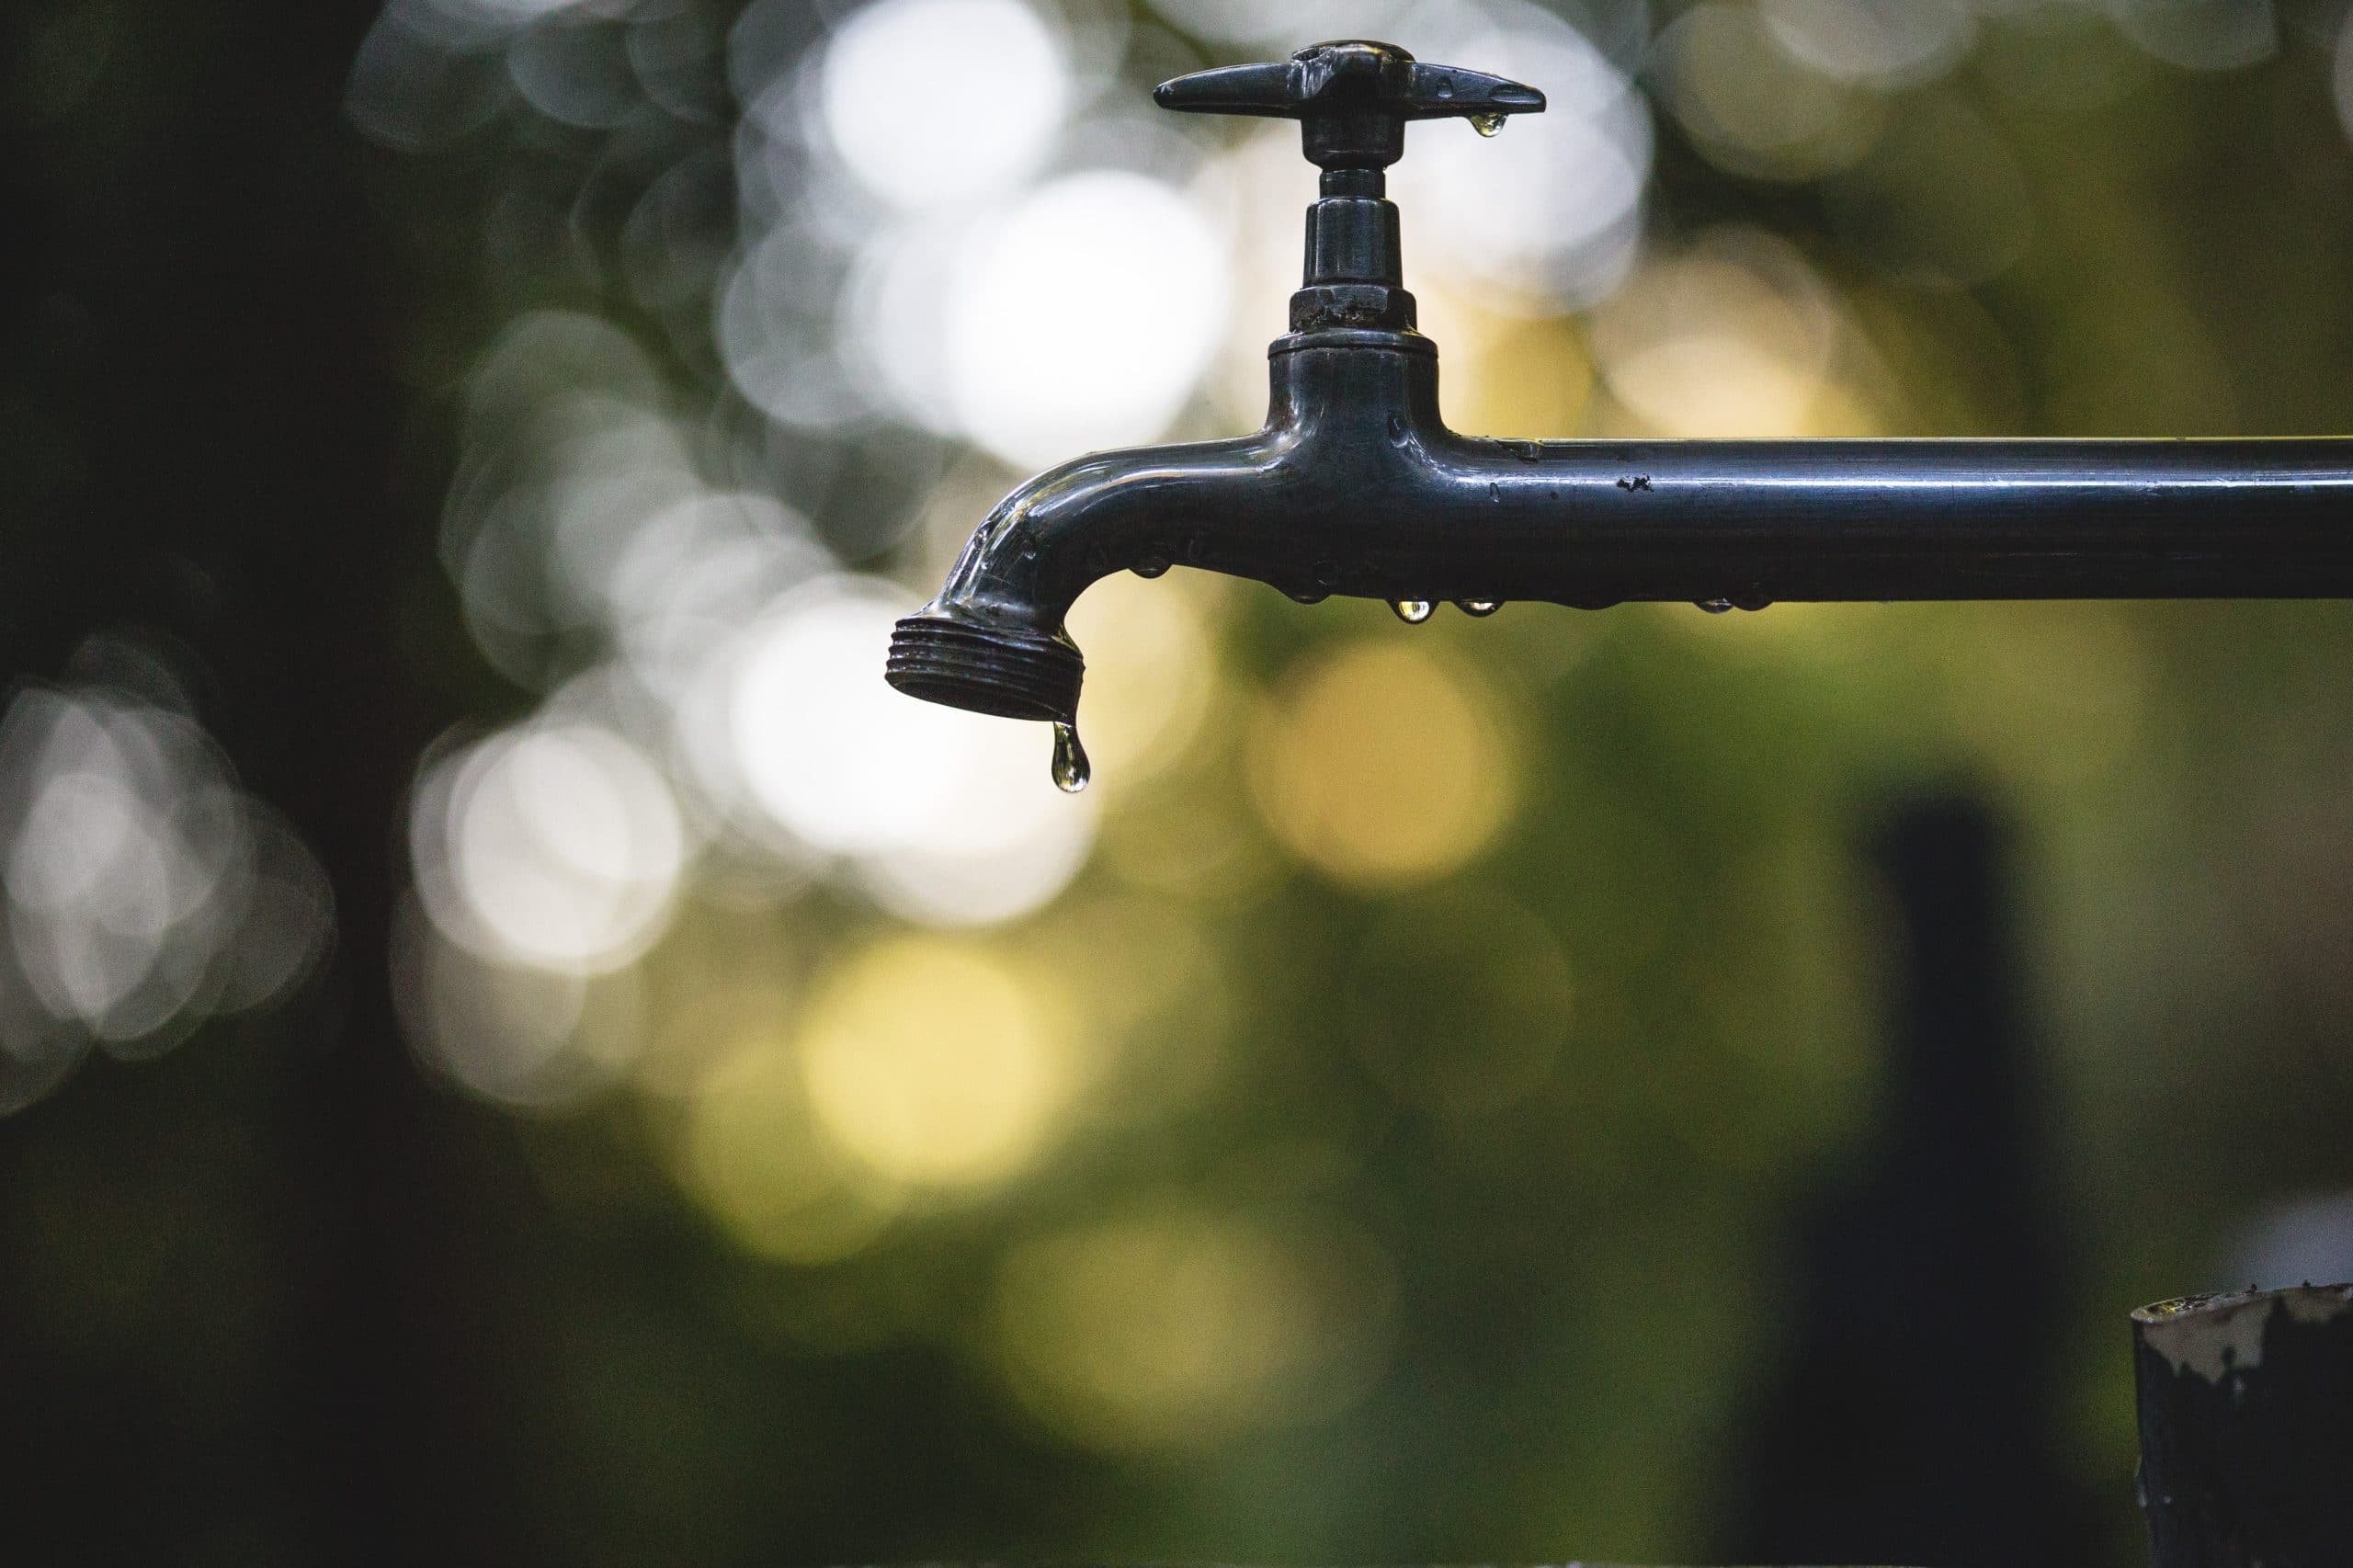
Picture this – it’s a sunny Saturday morning, you’re all set to wash your car and then you notice: drip, drip, drip, your trusty outdoor hose bib is leaking. Now, calling a pro may be a grand idea if your wallet is full, but if your budget is tighter than a new pair of shoes, fear not.
Here’s a nifty guide on how to stop that leaking faucet handle from annoying the heck out of you and save some green.
First up, pinpoint the source of your leak. Keep a keen eye out, sometimes the leak is more like a sneaky ninja, hiding under the faucet handle or seeping around the packing nut. Once you’ve found the culprit, it’s time to employ the tools of the trade: pliers or a wrench. These will be your unsung heroes in the mission of replacing the packing washer.
Common Issues of a Leaky Hose Bib
Let’s dive into some common troublemakers causing your outdoor hose bib to wade in the pool of leakage problems. It could be as simple as a loose packing nut – think of it like a belt holding your pants up, sometimes, it just needs a little tightening.
The washer and screw may have decided to retire from their years of service, needing a replacement to shine back in action. Or the whole faucet may just be out of whack! But don’t sweat it, champ. It’s all fixable with the right tools and a pair of willing hands to handle the issue.
What Causes a Hose Bib to Leak?
The root cause of the mischief could be too much usage, which can leave the packing washer worn out, leading to a leaky hose bib.
Got a frostbite issue? Sometimes, a harsh winter could turn that outdoor bib into an icicle, damaging the entire setup. Now you got to replace the packing washer, drain the faucet, and start a DIY hose bib repair project. Yep, it’s almost like hosting a home repair show, isn’t it?
Do Pipes Break When They Freeze?
So talking about the myth – do pipes bust when they freeze? Let me tell you – frozen pipes are like a silent ticking bomb. They might not always burst at the spot where the ice does its own rendition of the “Ice Age”.
More often than not, the leaky outdoor faucet might just be the first act of the drama that unfolds inside your pipes leading to potential damage downstream.
Tools and Supplies Needed
The tools needed for this DIY project aren’t complicated.
- An adjustable wrench or a pair of pliers – choose vice grips for a stronger hold
- Flat-head & Phillips-head screwdrivers – for removing stubborn screws a.k.a packing screw
- A replacement washer – consider a durable option
- Packing string – yep, just like your high school science project.
Handle Detachment and Inspection
You’re probably wondering how to get a firm handle on this whole leaky hose bib situation, right? Well pal, a lot of it is about quite literally pulling the handle screw. Fancy metaphors aside, our first step after ensuring the water supply is cut off is to remove the handle of the hose bib from the valve stem. This isn’t rocket science, all you need is a trusty screwdriver.
Giving it a wiggle might help to loosen it up if it’s being stubborn. Once you successfully yank it off, make sure to keep the handle and screw in a safe spot, alright? You don’t want the dog running off with them while you’re in the thick of this DIY expedition. Now you’re ready to inspect the situation.
Unscrew the Packing Nut and Valve Stem
Next on the agenda is getting familiar with the packing nut and valve stem. These two components are screws and bolts tight; they’re not just hanging about. After the handle’s gone, you’ll spot a screw attaching the washer to the threaded stem. Your mission here?
Unscrew and detach the washer. Now this washer might look it’s warped or gone to the dogs, potentially why you have a wasted water spectacle on your hands. It’s like throwing cash right down that hose bib, ain’t it?
Sometimes it’s the darkest corners that you can find the faulty valve system. Screws and fittings all twisted, causing the leak in the first place. The detachment is no small matter. This unfastening of boundaries is crucial; so, slow and steady, friend, and you’ll get that watery runaway back in check.
Replace the Stem Washer and Packing String
Hold your horses there, don’t think the game’s over yet. It’s time to bring in a fresh recruit – a new washer. That old, damage-prone washer needs to retreat to the bench, replaced by the newly minted one. Get the right-sized washer, it’s like fitting a new hat, it’s gotta fit snug in that washer groove on the threaded stem. And with the screw you safely stashed away earlier, lock it down to keep it secured.
And not forgetting the packing string, that unsung hero beneath the bonnet nut, often overlooked but vital for our leak-free endgame. Give it the Cinderella treatment, out with the old, in with the new.
Remember, it’s all in the craftsmanship, my friend. Tie several layers of your fresh string, keeping up with the clockwise fashion just like winding a watch, unless you’re dealing with a packing washer model.
Reassemble and Test the Faucet
Got all your bits and pieces sorted? Great! Now it’s time to put it all back together. Feels like fixing a jigsaw puzzle, doesn’t it?
Twist your stem back into the faucet, then secure the bonnet nut with your plumber pliers. This is where your previous screw-handling skills come into play again. Finally, it’s time to replace the handle and make sure it’s tight, but remember ‘Handle with Care’, too tight and you could be back at square one.
We’re not done yet. Let’s turn that water back onto the spout and open your spigot. Watching for leaks around the packing nut is like scrutinizing the perimeter for bandits. If you spot any, tighten it till it goes MIA.
Turn off the faucet, and wait a bit because even leaks need dramatic endings. If it doesn’t stop dripping, you might need a professional plumber instead.
Weatherproofing Your Outdoor Faucets to Prevent Leaky Hose Bibs
Frost-proof faucet, is a must-have for your outdoor faucets in colder climates. Adding a layer of insulation to prevent your pipes from freezing is like wrapping up warm in winter. It’ll make your faucets resilient against the biting cold, and help you avoid the fuss of dealing with leaky hose bibs in the first place.
Now remember to disconnect and drain before the first freeze waltz in. It is almost like emptying your pockets before shoving your pants into the wash. Drain the pipe leading to the outdoor faucet as well to make sure to dodge off all potential plumbing hassles.
At the end of the day, it’s just like looking after an old pick up – plenty of care and a routine check-up can steer clear most of your plumbing problems.
Is It Time To Call an Expert Plumber for Your Leaky Hose Bib?
There comes a point in every DIY warrior’s life when they have to put the tools down and call in the professionals. A leaky hose bib with a threaded spout, in particular, can swiftly turn into a headache.
Sure, you can give it a shot in your free time. But there’s a line between bravery and insanity, and it’s usually found at the business end of a slip plunger you’re wielding with a hopeful glisten in your eyes.
When to Consider Professional Help?
You see, fixing a leaky hose bib has its moment when even the most diligent do-it-yourself’er decides to throw in the towel. If that plug just won’t quit dripping even after your best efforts, if the bib’s acting up and refuses to shut off completely, or if there’s a continuous puddle forming, glare at it as you might, these could be signs that your problem might run deeper than just a worn-out washer.
Practically speaking, any course in life occasionally needs some outside assistance to diagnose what might be ailing your outdoor plumbing systems. After all, nobody likes a persistent waster – whether it’s an unruly child with the cereal box or an outdoor bib with a dripping issue.
How to Save on Plumbing Bills?
However, it doesn’t always have to end in the costly visit of a professional plumber. A couple of smart moves and your bill could look lighter than your neighbor’s disbelief at the sight of your at-home plumbing prowess.
Leeriness of thread tape, choosing a regulating valve over a chunky water meter, a little insulating here, a little weatherproofing there – all can make a massive dent in your bills. On the same note, ensuring that fixing a leaky hose bib turns into a one-time ordeal takes knowing the ropes well.
Regular checks, using durable, high-quality materials, and not ignoring that tiny, nagging drip until it becomes a gusher – these are your secret weapons in maintaining a happy bank account. Minimize chances of needing to fix a leaky hose bib, and you might end up saving a lot more than just water.
Conclusion: Proper Maintenance for A Leak-Free Hose Bib
Handling leaks or drips from your hose bib head-on can save you from the throbbing headache of costly water bill surcharges. Remember, it’s not just about fixing the problem when it occurs but being proactive in preventing it at all. It’s like playing chess with your plumbing system; you gotta think several steps ahead. With a proper maintenance routine in place, you can enjoy a leak-free hose bib all year round.
Protect your outdoor faucets, especially when the nasty weather sets in. Just like an umbrella shields you from rain, a faucet cover is a convenient device to have a frost-free hose bib.
When you safeguard your indoor faucets this way, you make it tough for the cold to freeze the pipe leading to the faucet, helping you avoid lickety-split freezing and the consequential expansion of water.
Lubrication is key. Thread the packing nut every once in a while with silicone-based grease. You don’t want it getting rusty on you, or even worse, getting stuck when you need to make some adjustments.
Remember, everything has its nuts and bolts, and a hose bib is no exception. A little vigil is all it takes to maintain a whistling plumbing system. Monitor, shield, and adjust accordingly, and you might just sidestep that plumber’s visit.
I’m John, a “seasoned citizen” and an avid gardener. I live in Minnesota, where our weather and growing conditions can be harsh and challenging. Over the years, I have learned a thing or two about being successful in growing things. I have curated these tips, which I think are helpful for the beginning gardener and the seasoned experts. If you have feedback, let me know in the contact form.