Table of Contents
So, you’re about to dive, or rather dig, into your first garden tilling, huh? Now, don’t be scared – it’s a lot like conducting that first big symphony orchestra. You’ve got a set of tools instead of instruments, a garden plot instead of an auditorium, and a handful of weeds instead of an unruly trombone section (Let’s be honest, they’re always the naughty ones). But just like that conductor, you’ve landed up here, holding the baton of this step-by-step guide, ready to coordinate a symphony that will end in spring planting. All you need is a good sense of humor, a pair of strong gardening gloves, your trusty shovel or trowel, and maybe some band-aids (for the gardening, not the humor).
Imagine there’s an algorithm for tilling your garden: rocks and roots removal, visually marking boundaries of your garden plot, and adding compost into the soil. Plug the variables into our guide, and you’ll be a step closer to a garden that’ll make you swell with pride.
Now, you might be eyeing that motorized tiller like it’s an untrained puppy. Sure, it roars more than a lawnmower and can be quite stubborn when it comes to going 6 inches deep. However, don’t just tuck your tail between your legs just yet! With this guide, you’ll soon be the master of the beast, and your garden won’t remain amiss of sunshine and good vibes.
What to Understand Before Tilling a Garden
When you’re unsure about something, feeling the earth under your hands helps. So, get your fingers down, deep into that soil, before you even think about tilling your garden. The deeper the mystery of the soil’s consistency and composition, the better off we’ll be when it’s time to make our garden bloom.
Understanding the Concept of Garden Tilling
Tilling your garden is a song and dance that every Newbie Gardener Club member must learn. It’s like perfecting the Salsa — timing, technique, and rhythm all make a world of difference. Here’s the fancy footwork: You mix up the soil, shovel over the dirt, and give a one-two cha-cha-cha for the organic matter to integrate into the soil. BAM!
Don’t worry about making a few errors. We’ve all been there. As long as you’ve got the hang of the dance, there’s no stopping you. But remember, tilling your garden is not all roses and butterflies; it can be as tough as a gym session minus the Zumba.
Ideal Timing to Begin Tilling a Garden
Timing, my friends, is a sneaky little trickster. Blow onto the stage too early, and you’ll face a frozen, unyielding dance partner. Be late, and you’ll be stumbling through those sloppy spring rains. Here’s the truth: Garden tilling is perhaps the only instance where being fashionably late isn’t the end of the world.
Think of it like this: You need the solid rhythm of the soil and the gentle melody of the spring showers to blend seamlessly. When these two are in harmony, it’s showtime! So, prepare for the big break-dance and till away!
Preparing to Till a Garden: Equipment and Planning Needs
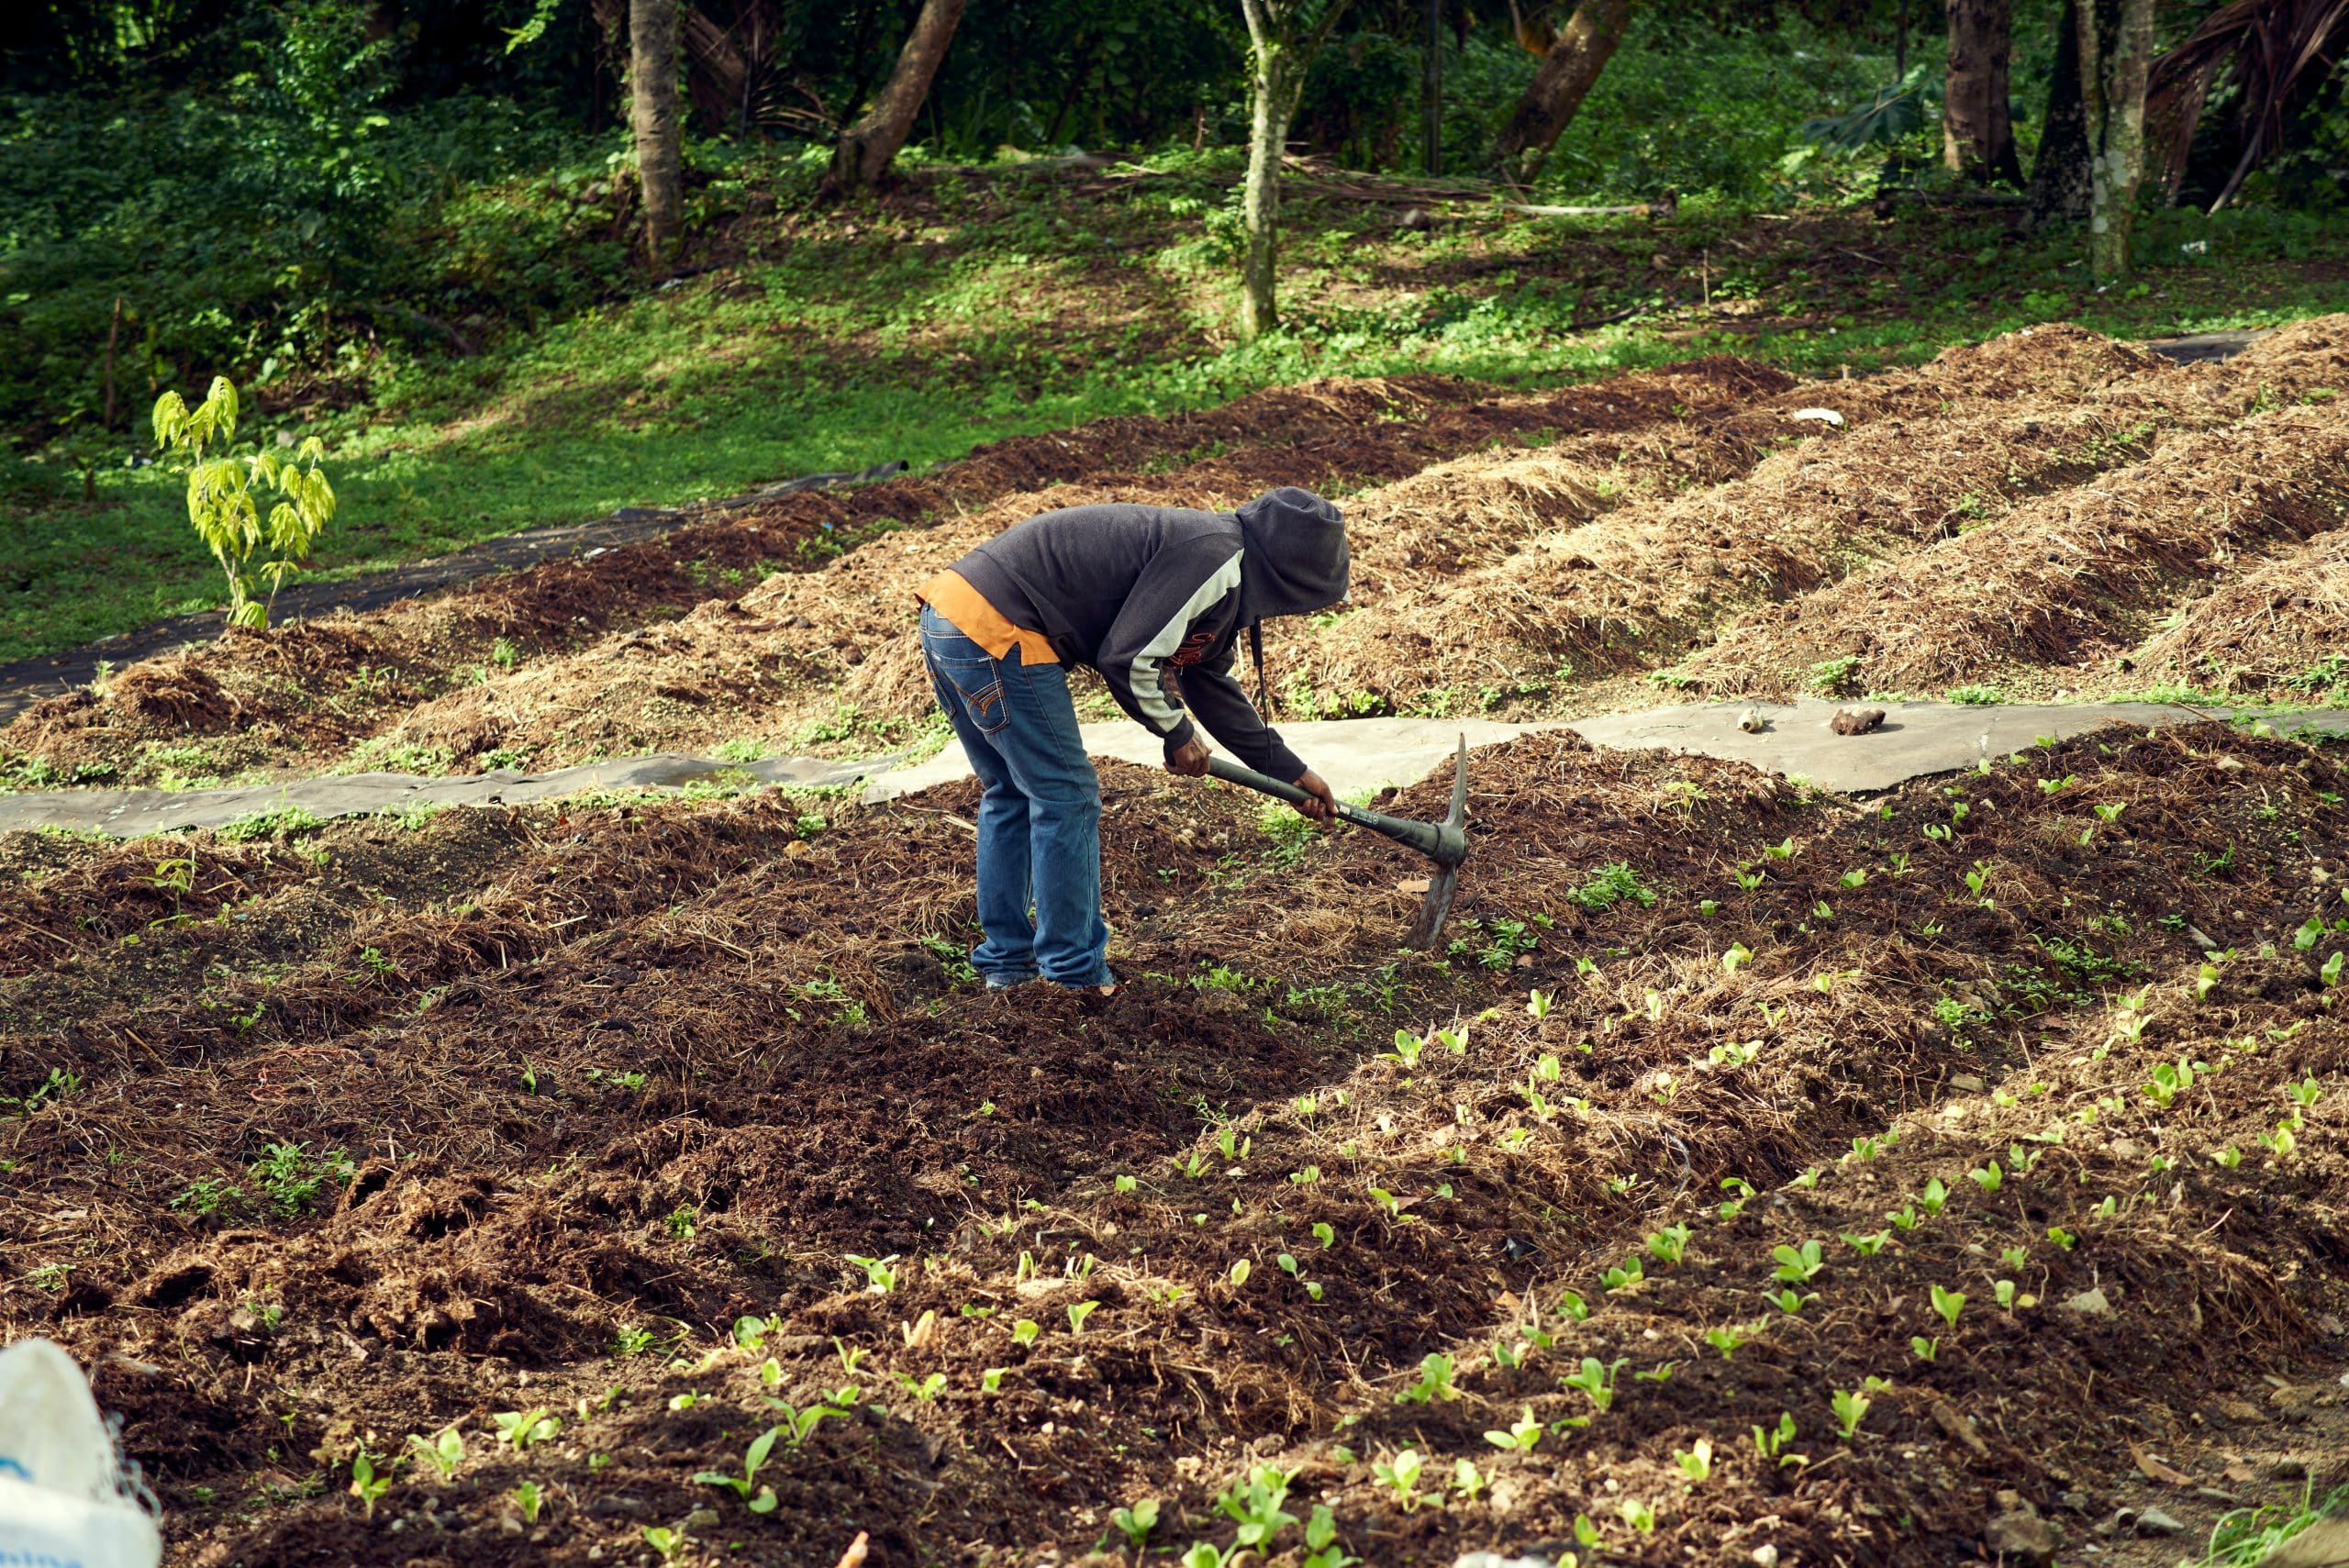
Put your gardening hat on, folks. We’re about to grab some dirt and get real up close with Mother Nature. But you know what they say, right? Before you do battle, you gotta arm yourself well. That goes for tilling a garden too!
Required Tools for Successful Garden Tilling
Picture this: you, standing victorious, with a freshly tilled garden at your feet. Sounds good, right? But to claim that victory, you’re gonna need some hardcore gadgets. Let’s do a little inventory:
- Garden Hoe: Garden hoes are your best buddies for breaking up stubborn clumps, loosening the soil, and lining you up for spring planting.
- Motorized Tiller: Now we’re getting serious! This heavy-duty bad boy digs deeper into the soil, breaking up the hard crust that not even the mightiest of garden hoes can dent.
- Hand Tillers: These are like the baby siblings of the motorized tiller. Not as big or as powerful, but they have their moments. Think of them as little ninjas when it comes to smaller patches of soil for planting.
Okay, so we’ve got the tools; now we move on to the prep work. And believe me, marking and planning are just as important as tilling for busting out a stunning garden plot.
Marking the Area You Intend to Till
There is nothing more tragic than a crooked garden bed or, worse, chopping the roots of nearby plants because you didn’t plan it right. But don’t worry, there’s a solution, and it’s as simple as drawing a chalk line. Mark the edges of the area you want to till. Straight lines will not only make it easy for you but also ensure your garden gets the ‘Best Looking’ award in the neighborhood. Just remember, gardening ain’t a sprint; it’s a marathon.
Detailed Steps on How to Till Your Garden
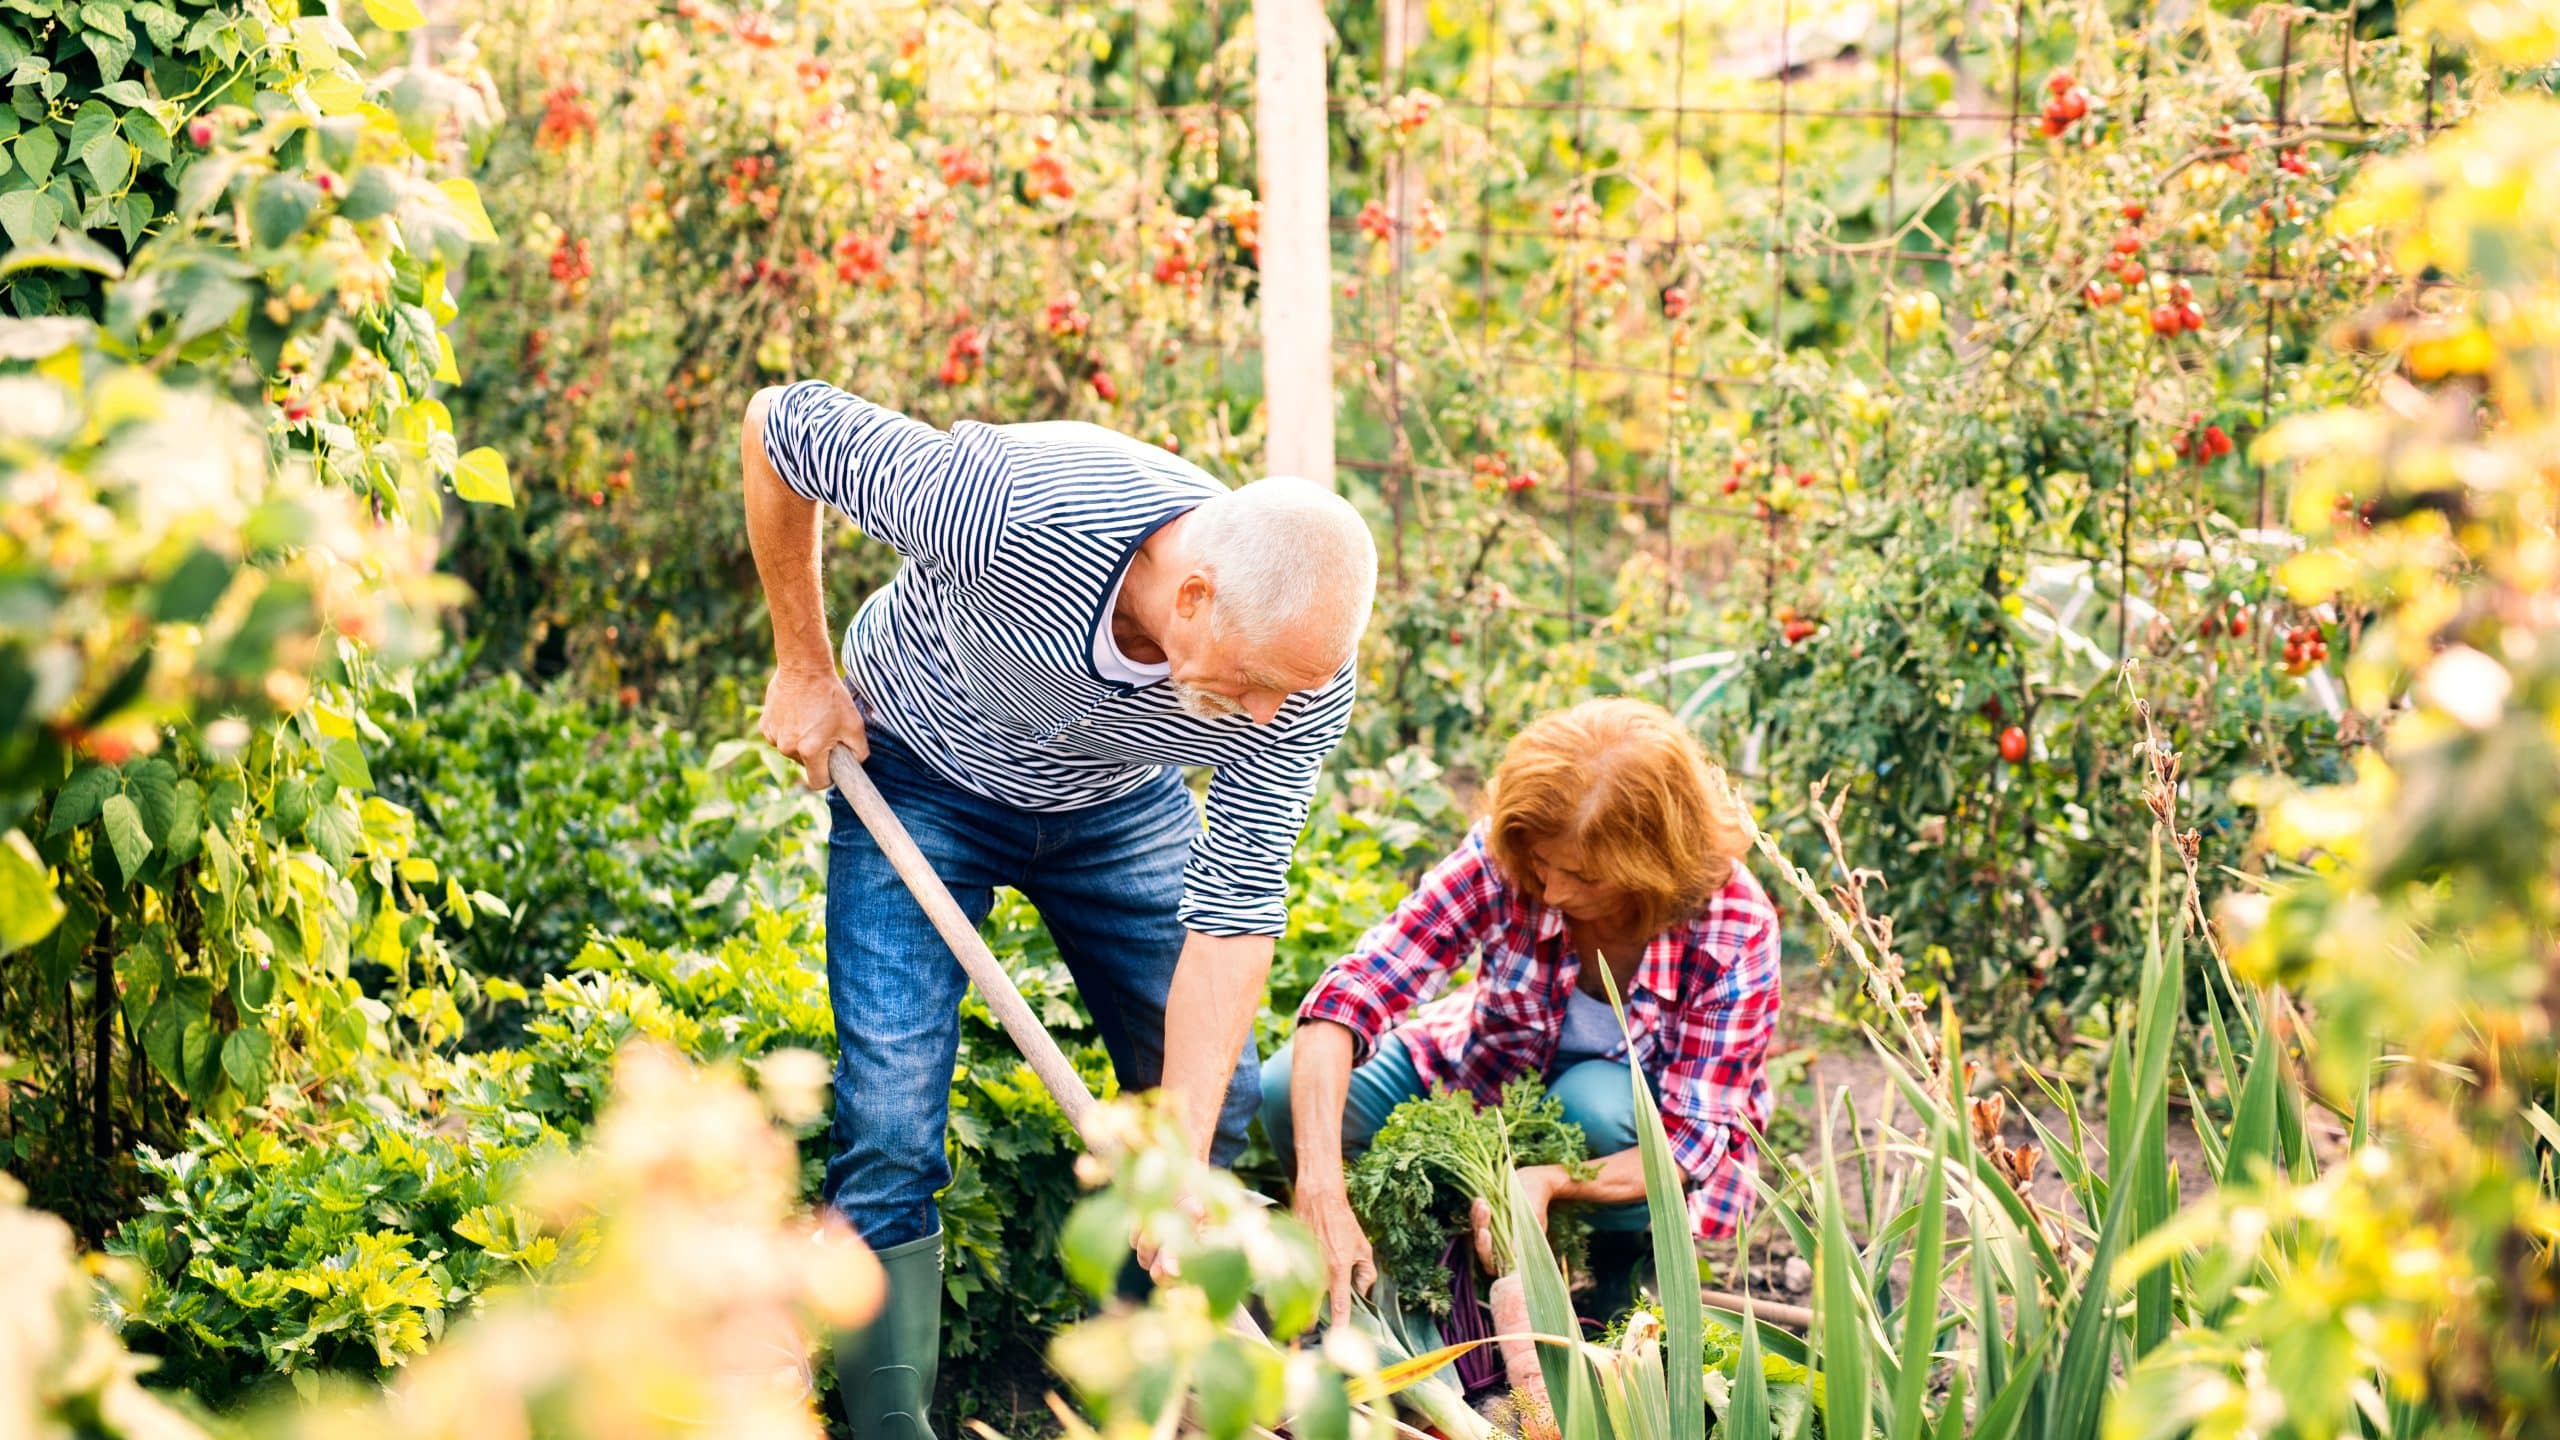
Alrighty then, let’s get down to the nitty-gritty step-by-step guide. We’ve talked about tools, we’ve plotted the land, now let’s till a new garden and bag ourselves a splendid garden.
Clearing the Selected Garden Area
The first rule of tilling a garden is – don’t till on rocks and roots. It’s like trying to drill a hole in a brick wall using a toothpick. It isn’t happening! So, get down and dirty, clear them out of there. If you’re dealing with a major rock situation, call the cavalry, aka your handy-dandy garden hoe.
Once your ground is as clean as a baby’s bottom, it’s go time! But hold your horses. There’s one critical thing you gotta check first – the soil’s moisture.
Ensuring Soil Moisture Is Optimal Before Tilling
Why is that important? Well, think about it. If it’s too wet, you’re not tilling soil but crafting yourself a muddy mess. Wet soil sticks to the tiller blades, especially if you are working with clay soil.
If it crumbles easily, it is absolutely perfect for tilling. If it’s too hard or too slushy, you’ll have to wait or water accordingly. Remember, tilling a garden isn’t just about loosening the soil; it’s about setting a solid, moisture-balanced foundation for your future green empire.
Procedure to Till the Soil
Let the game begin! To break it down for you, soil tilling is all about busting up that hard ground and fluffing it up. Good news coming your way – healthy soil doesn’t make you work for it; it could be all she wrote at about 3 inches deep. This means if it makes you work too hard, you may have to question the health of the soil.
An electric tiller can be your best buddy in this situation. Here comes the top tip – think of your garden as a giant lawn. Start from one end till all the way through, just like mowing a lawn. The key is consistency; don’t chop and change. Remember, Rome wasn’t built in a day. You might need more than a single go to get every nook and cranny.
How to Enrich the Soil After Tilling
Now, onto better things, or simply speaking better soil. Once the tilling of soil is done, moisture becomes the king. It’s like checking a cake – you really don’t want your soil to turn into a muddy mess. Moisture is important, not wetness. So don’t forget to use your hand tools and also ensure the soil isn’t too moist. We really don’t want any extra compaction going on.
Best Practices for Leveling the Soil Post-Tilling
Once all the tilling and enrichment are in the rearview and the road looks straight, it’s time to level your soil. Might bring back memories of playing pool at Scrap’s bar, that is, if you ever had your eyes on the table and not on the light fixtures. But just like pool, it’s all about a level playing field.
And here’s a reminder: watch out for the moisture. Too much of that, and you’ll end up with clay on your boots, and trust me, that’s a walk you don’t wanna take.
Additional Considerations During Garden Tilling
Can’t glide through life without knowing the rules, and the same goes for tilling. It’s always good to know your hustle; check the type of soil you’re dealing with. Tilling a garden for the first time is like exploring a new neighborhood, getting to know it, and things get a lot easier.
Removal of Rocks and Roots in the Soil
While you’re at it, you may find some rocks and roots that think they’re playing hide and seek in your soil. But let me tell you a secret: these unwanted guests can halt your plant growth faster than you can say garden gnome! So once you’ve got your soil tests and you have marked them up, it’s time to break the pickaxe out.
Be it rocks or roots, you gotta remove every last one of them. If you don’t, well, you might as well have signed up for a mud wrestling match with a motorized tiller. Trust me, you don’t want that. The soil shouldn’t have any big surprises that may damage your tiller or give you a shock!
Process of Spreading Compost (Optional)
If you’re thinking of going the extra mile, compost is your ticket. Just imagine it as a plush red carpet for your plants. Spread it, aim for three to four inches, and then till. This way, your soil will be rich enough to win a millionaire’s club membership.
Correct Approach to Begin Tilling From a Corner
Okay, finally, the moment of truth. You’ve got all the info; it’s time to reveal the secret sauce. The golden rule is to always start tilling from a corner of the garden. It’s like opening a book, right? Right. Follow a methodical approach to loosening the soil. Keep going till you’ve covered the entire lawn. Remember, piece by piece, we move ahead, just like putting together a puzzle. And now, Bert, get ready to see your soil produce healthy plants like nobody’s business.
Quick Tips to Remember While Tilling a Garden
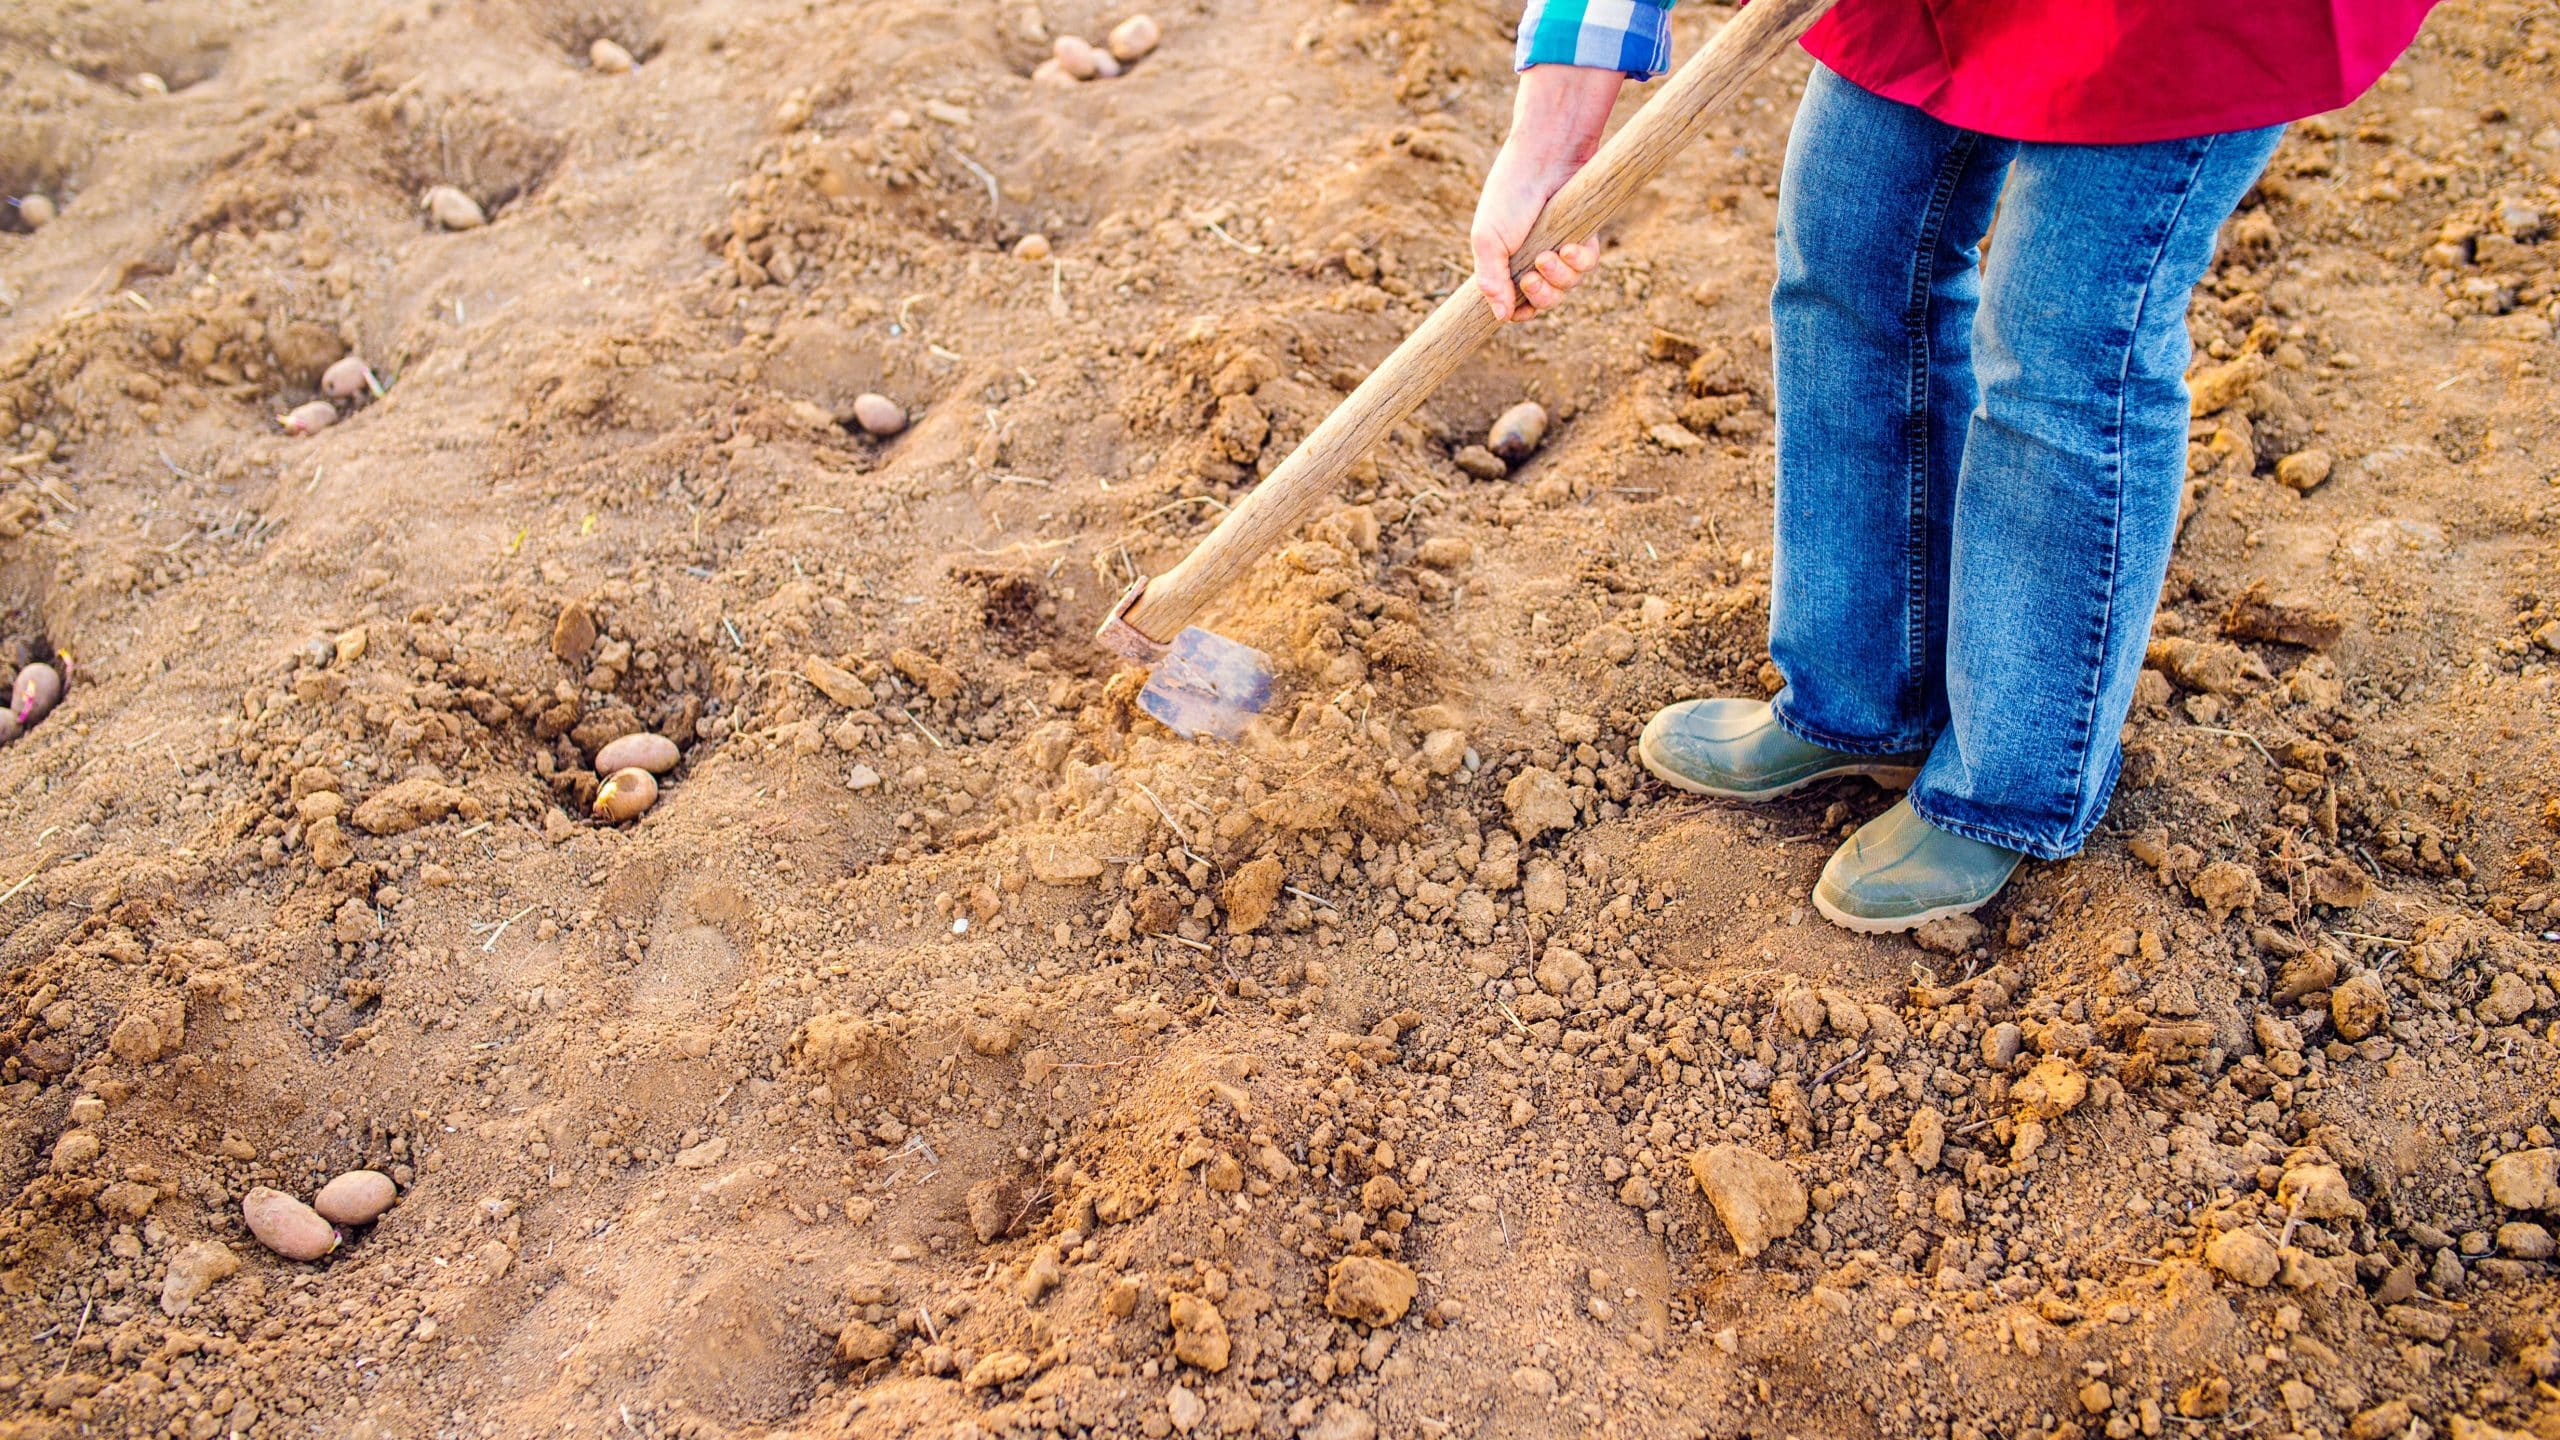
Well, now, boss, tilling a garden – ain’t that a hefty undertaking, especially if you’re getting your boots muddy for the first time?! Now, don’t start doubting, though! I’ve got some tips that you’d do well to remember. So, let’s get to it, shall we?
- First things first. Get yourself a good old manual tiller. Crazy as it sounds, manual tillers have their benefits – yep, besides the workout! They’re great on the small, narrow garden beds and give you precise control. Without the need to get all fancy, a simple, sturdy manual tiller can get the job done quite nicely.
- Now, we gotta understand one thing, folks. Tilling isn’t about digging up half the earth! It’s about breaking up the soil just enough to allow your veggies and flowers to dig their roots deep. So don’t overdo it when you till the soil. No need for your tiller to go on a treasure hunt to China. A depth of 8-12 inches is plenty.
- So you’ve tilled, but the job ain’t done yet, friend. You gotta enrich the soil next. Get yourself a good compost or manure mix and sprinkle some on your soil. Don’t bolt from this step now. Healthy soil equals a happy garden.
- Last but not least, you have to get rid of the weeds. When you begin tilling, you’ll face those little green menaces popping up. But don’t you fret! Tilling the soil helps you fight them. Turn the soil over, chop them up, and let your garden breathe easy.
Final Thoughts
Now comes the best part: reflecting. It might seem like you’ve been doing heavy work; don’t go dismissing it as just that. You’ve been learning a lot in the process. Your understanding of soil texture, adjusting the depth of your tiller chisels, and dealing with those wretched weeds – it’s all new knowledge. So here’s to you, my gardening maestro in the making. As they say, every day ain’t Sunday, but after tilling your first garden, I think this one sure feels like it is!
I’m John, a “seasoned citizen” and an avid gardener. I live in Minnesota, where our weather and growing conditions can be harsh and challenging. Over the years, I have learned a thing or two about being successful in growing things. I have curated these tips, which I think are helpful for the beginning gardener and the seasoned experts. If you have feedback, let me know in the contact form.


