Table of Contents
Dull tools are like a bike with flat tires; they just won’t get the job done right. So, you may be out in your garden day in and day out, pulling up weeds and pruning, but the tasks will prove to be fruitless if your tools are dull.
No matter the garden tasks you undertake, those vegetable marathons or rose-pruning decathlons, you wouldn’t want your trusty garden tools letting you down. Hence, it’s crucial to keep your garden tools as sharp as a serpent’s tooth.
Sharpening garden tools ain’t your annual Christmas candy; it’s more like the daily cuppa joe. Little and often, we must hit that grindstone, spit on our hands, and get those tools sharp. Chalk out an extra sharpening session few times a year to prep for garden-digging seasons because remember folks, it’s easier to cut with a sharp knife than a blunt one!
Regular Maintenance of Garden Tools
The garden isn’t gonna grow itself now, is it? And the same goes for your pruning tools. They’re the hustlers hustling through those day-to-day garden tasks like deadheading, pruning roses, coppicing, and much more. But your efforts would be futile if these shears and secateurs are blunt.
The magic of effective garden tasks happens when your trusty tools, just like a Sunday Church, are sharp and clean throughout the year.
Regular maintenance isn’t exactly a horse of a different color, but it does require a bit of elbow grease and a constant routine that trips us up more often than loose shoelaces. You got to keep an eye out for leaf sap building up on the blades, clogging up the mechanism, and reducing the efficiency of the cut.
And importantly, remember to sharpen your tools because only a dull tool complains about its workman!
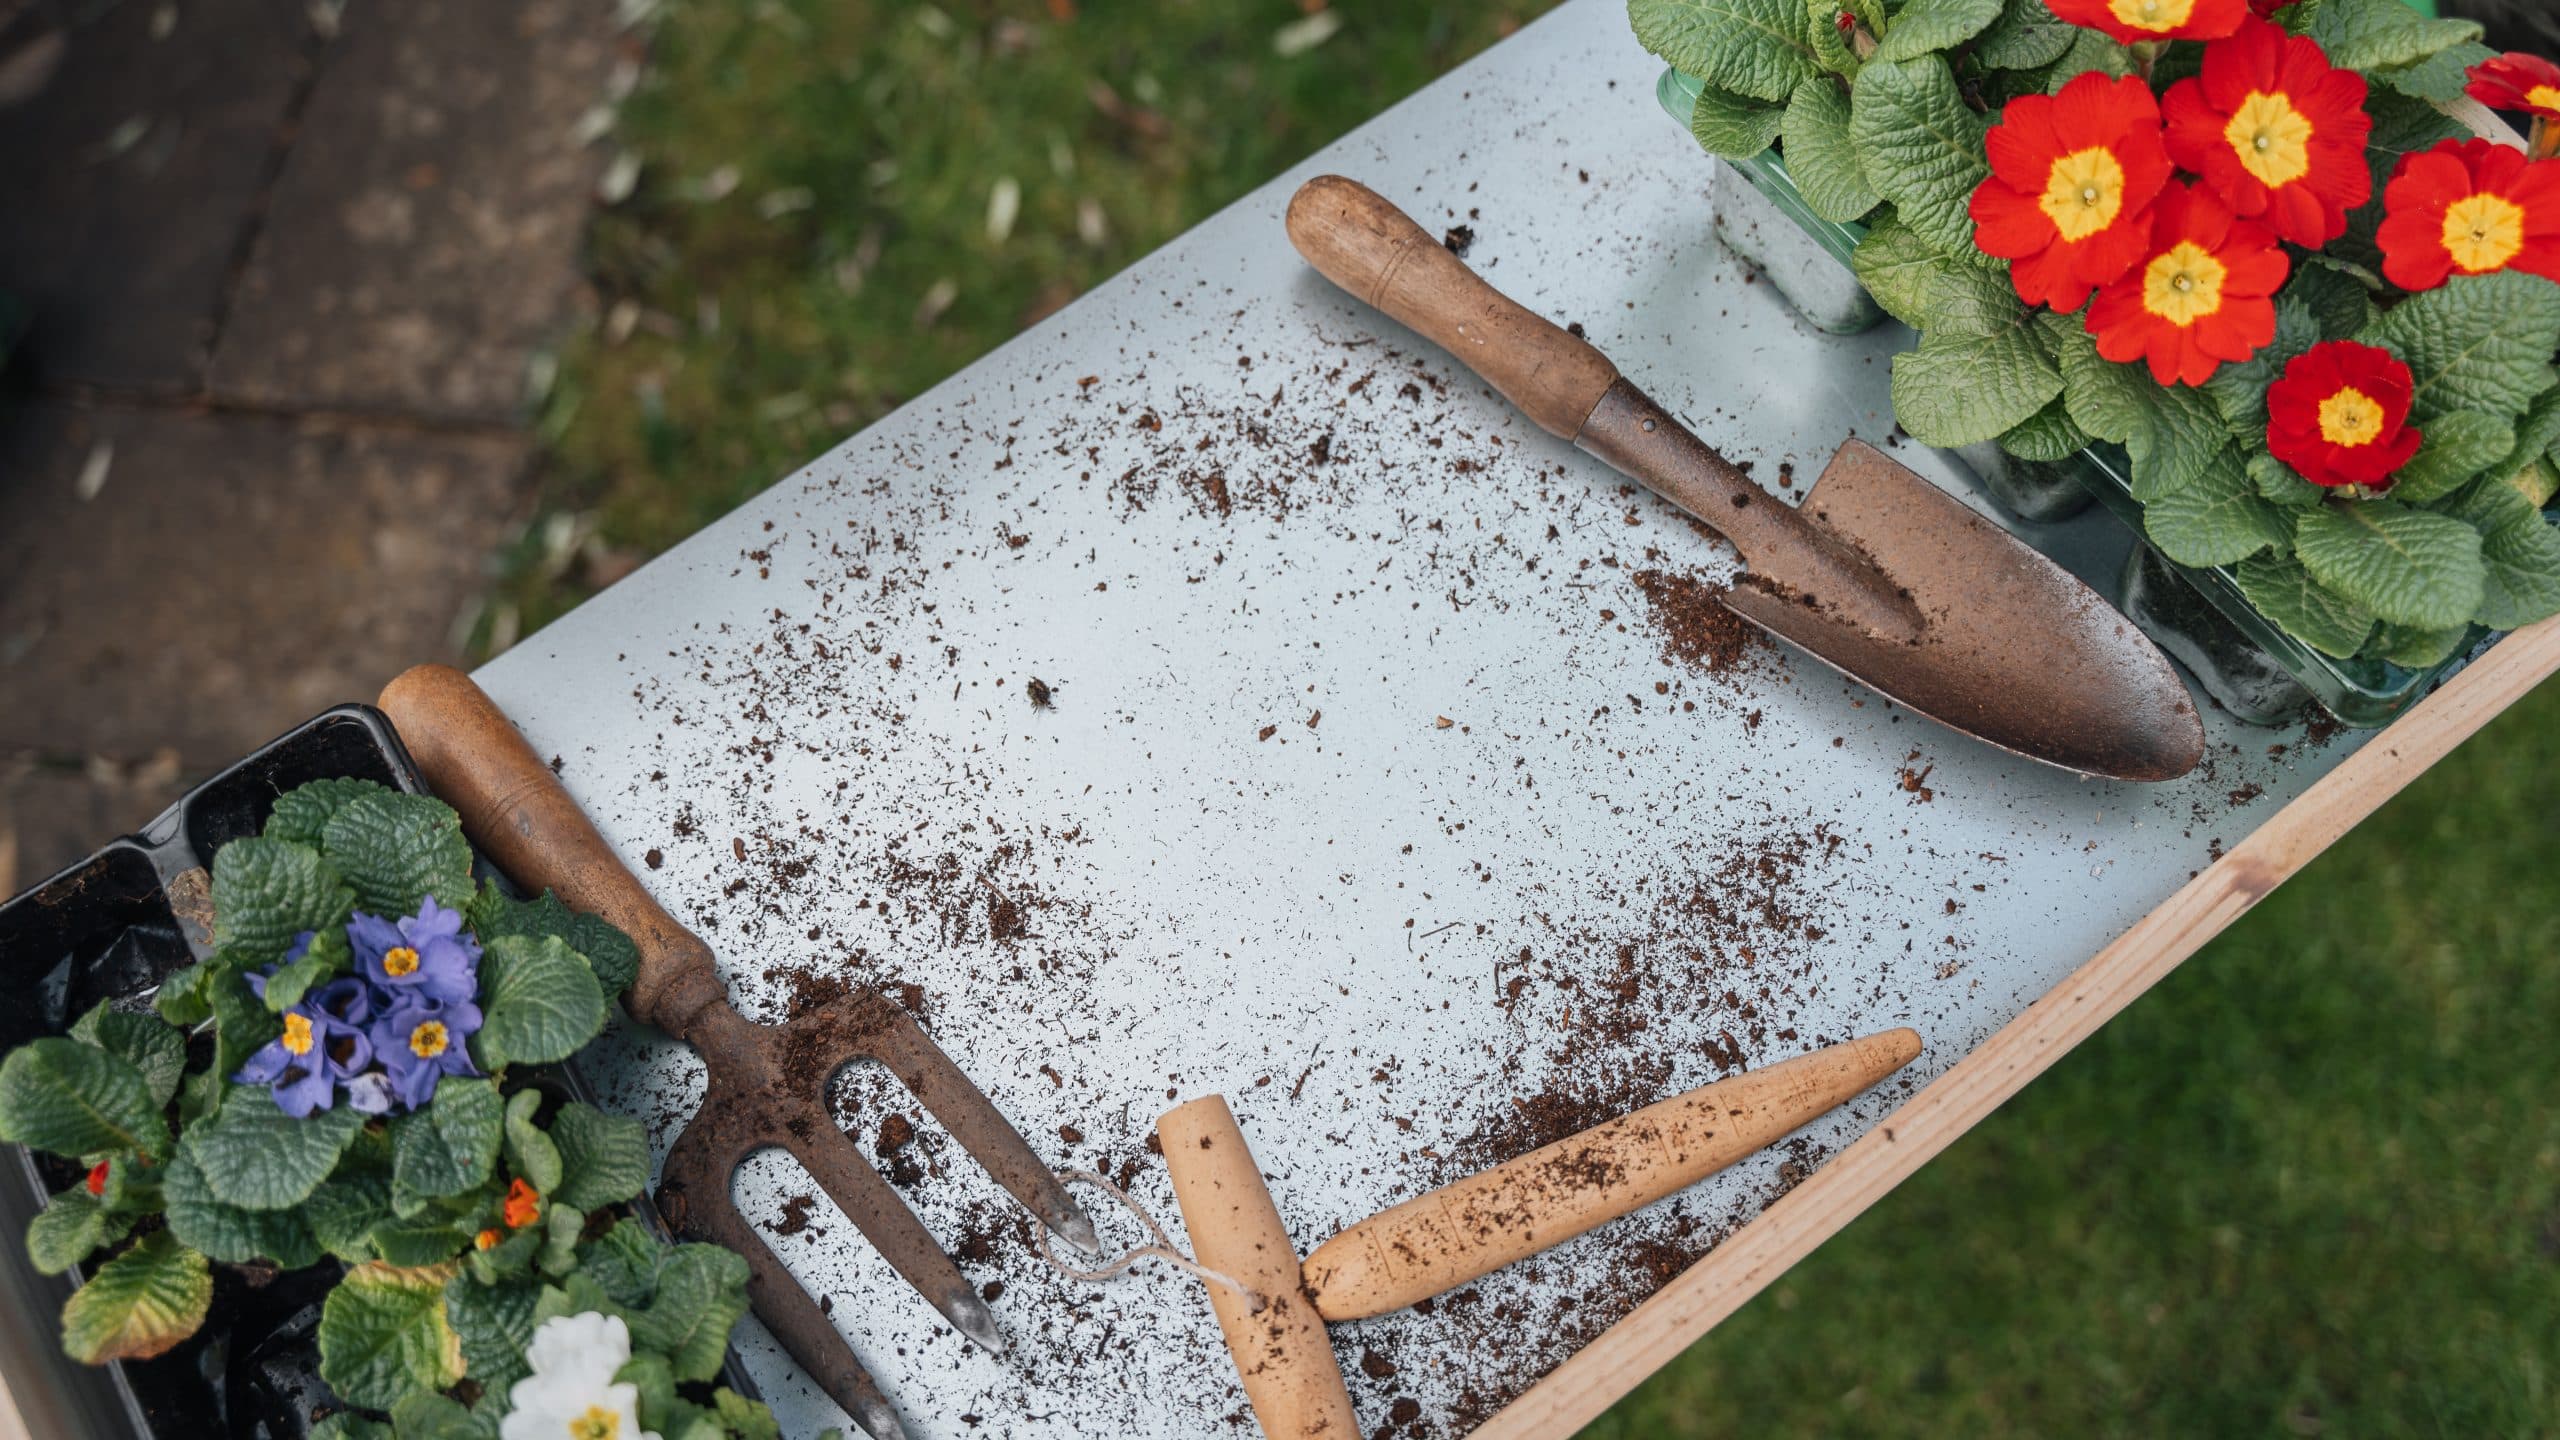
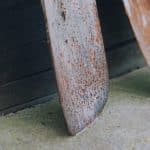
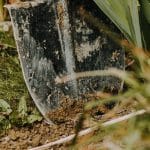
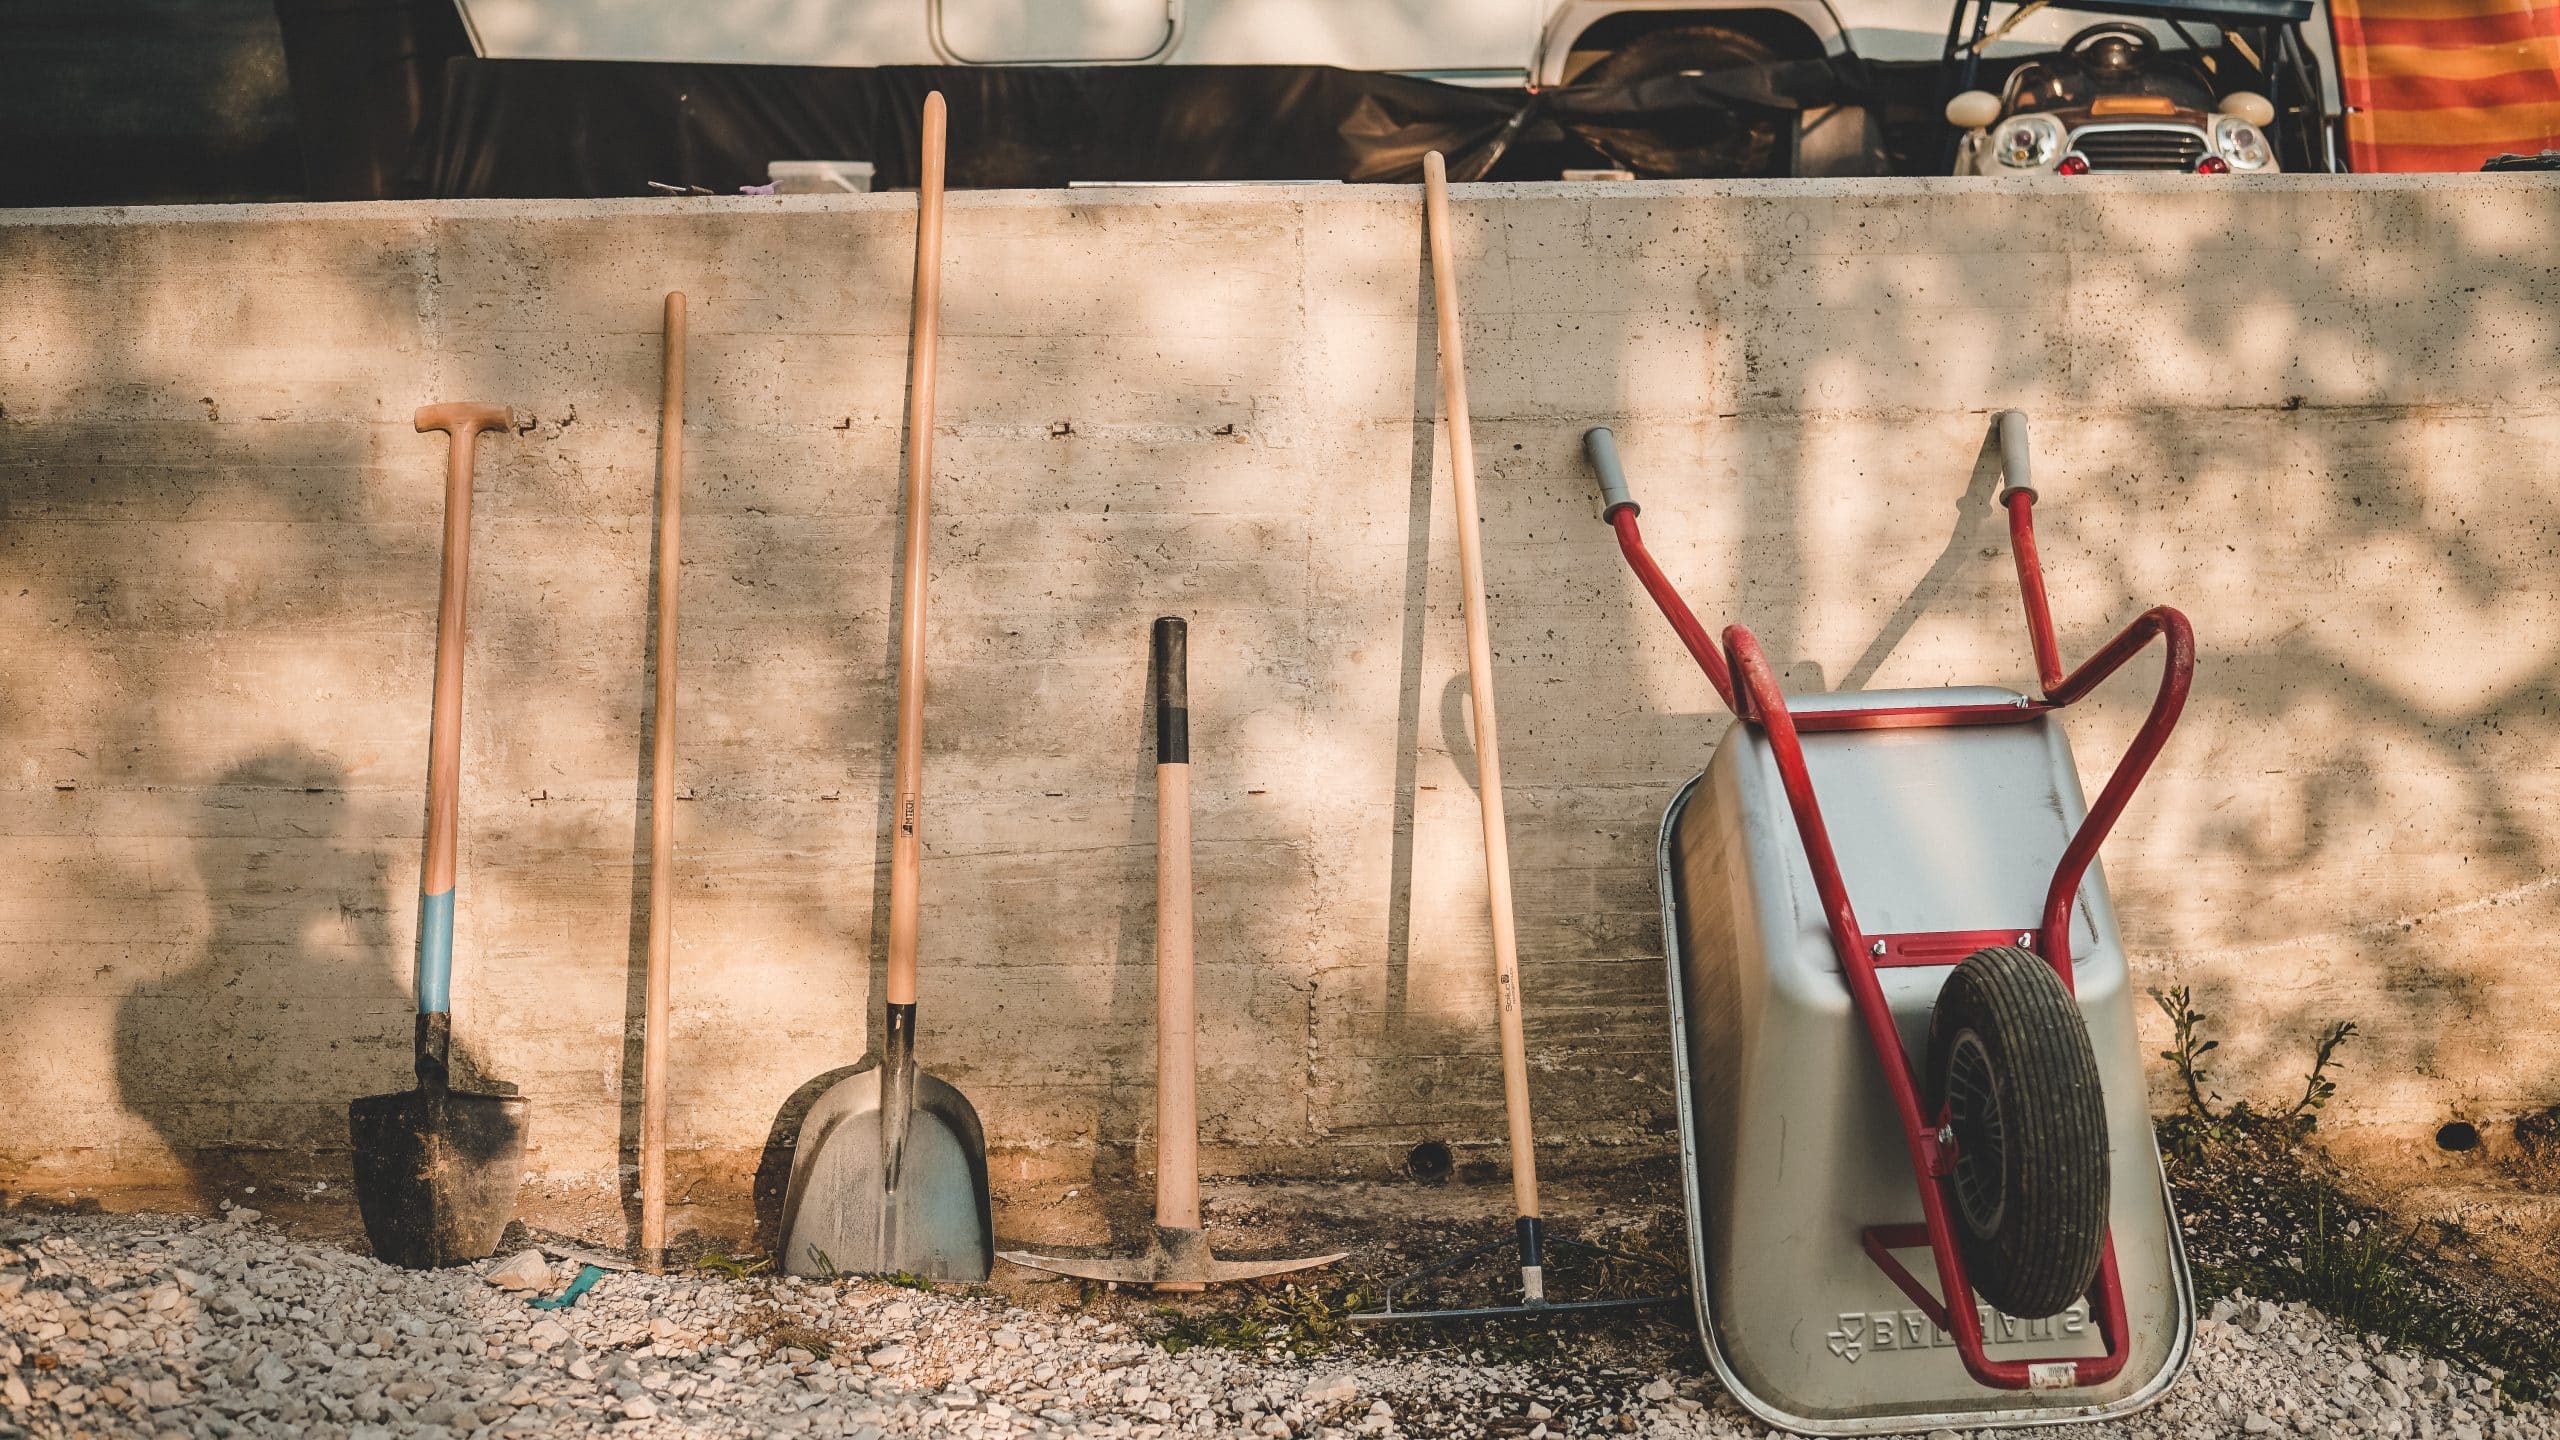
Hand Tools – Trowels and Hoes
Now, talk about the good old trowels and hoes. These two are like the bread and butter of your garden toolbox. But savoir faire is nowhere without regular maintenance, especially for these frequently used tools.
Out here in U.S.A., where our tools play tag with rocks and boulders, each ding or rendezvous with a big rock in the garden bed can leave the tools duller and possibly bent.
Now, you could be a mule stuck in the mud if you overlook these tools at the end of the season. But here’s the thing, a little love never hurt no one, and certainly not these garden workhorses. So, grab that flat file, hone these tools, and start tending to your garden!
Pruning Shears and Snips
All right, it’s time we got snippy about the pruning shears and snips. These aren’t just tools, they’re like the extra pair of hands for any farmer or gardener. Use them for pruning blueberry bushes, cutting woody flowers, and even harvesting thick-stalked veggies like summer squash and zucchini!
These lopping, cutting, and trimming tasks will seem as easy as shooting fish in a barrel provided we take care to match the angle while sharpening. Just like how anyone capable of getting themselves made president should on no account be allowed to do the job, any tool not sharpened just right will under-perform when it comes to delivering the tight, clean cuts you need!
Harvest Knives
Harvest time; the culmination of your gardening efforts, right? This is where the rubber meets the road. Maintaining a sharp edge on your harvest knives is a solid investment. An interesting thing about gardening is that it actually is a bit like cooking.
Having sharp knives guarantees clean cuts necessary for multiple-cut crops such as lettuce and broccoli shoots. No more tearing through a head of lettuce like it’s cardboard! Now you’ll be slicing through like it’s soft butter. Using a sharp knife simply ensures that you produce those satisfying, clean cuts.
By the way, this doesn’t only improve the visual appeal of your harvest. It aids in reducing potential for disease and helps crops grow back ever so evenly. As any restaurant chef would tell you, presentation is key!
A sharp knife cuts smoothly, minimizing damage to the plant’s capillaries and reducing disease entries. Oh, and having a sharp blade saves you effort and time. That measly bit of energy you put into ensuring your tools are sharp will always repay its dues in kind.
Long story made short: Keep those knives sharp!
Equipment Required for Sharpening Garden Tools
You know as well as I do that proper maintenance is no joke. Having several garden tools needing sharpening? Sure, it could be seen as chore, but consider this perspective: keeping our beloved tools sharp and clean brings nothing but joy.
We’re talking less struggle, cleaner cuts, and that satisfying job-well-done feeling you get after a day in the garden. An added bonus is that you won’t be wrestling to unstick leaf sap from the blades. The mission here: keep your tools sharp. So, gardeners beware: A lack of routine in tool-care might be your Achilles’ heel!
Now, don’t think you need to be sharpening them tools every day relentlessly. Rather, a bit of a buff here, a little honing there, does the trick just fine. Just make sure to have two or three dedicated sharpening sessions yearly to prep for the busier seasons.
Ready to cut some corners right off of your garden work schedule? Then hold tight, because we’re gonna run through the tools and equipment that you’re gonna need for this mission.
The Essentials
This is your basic toolbox for sharpening:
- Mill file: Long, comfortable handles make for comfy work.
- Whetstone: Any dull blade can be sharpened with a whetstone.
- Grinder or diamond file: For more rigorous and detailed work.
- Lubricant: Because no one likes a squeaky wheel.
- A clean towel: For the finale of your tool care routine.
- Safety glasses: Who knew gardening tools can be so vicious?
Step by Step Process to Sharpen Garden Tools
Alright, let’s pause the talking and get down to action. We’ll walk through it from cleaning the tools to sharpening the edge and ensuring it’s all top-notch for your garden. Before you know it, you’ll get familiar with this process as if it’s brewing your morning cup.
Step 1: Gather Equipment and Tools
Any job worth doing is worth doing well, and your garden tools are no exception. Starting at the top, gather your equipment. It’s not unlike planning for a camping trip. You wouldn’t be caught without a tent, would you?
So don’t leave your tools hanging. Have all your essentials ready – we’re talking your trusty mill file and a whetstone if you’re working with harvest knives, garden shears, or snips.
Beyond the basics, you’re going to need a grinder or a diamond hone. Think of it as the difference between an inflatable mattress and a proper bed at the end of a long day. Others essentials include some sort of lubricant and a clean towel for your tool clean-up time.
Step 2: Cleaning and Removing Debris From the Tools
Now, I know what you might be thinking: cleaning sounds about as exciting as watching paint dry. But hear me out here—it’s a key element in this whole process. Think of your garden tools as seasoned performers. Before every big show, they gotta get prepped and primed.
This means scrubbing away any lingering bits of soil, leaves or rust with a rust remover. A good soak in warm, soapy water does the trick real nice. Use an old toothbrush for any stubborn grime hiding in nooks and crannies.
Once they’re sparkling clean, let them air dry. Think of it as them basking in the applause after their performance. This is particularly important for shears and secateurs, because attached debris and gunk will blunt your tools faster than you can say “beveled blade”.
Step 3: Identifying and Assessing the Edge for Sharpening
Alright, the next step is all about the edge. Sure, some saying goes that you can sharpen your tools whenever you like, but I say it’s a waste of time and elbow grease if you’re doing it too often.
So grab a cloth and wipe down the edge before you start. Then, take a good hard look at that beveled blade. If it looks duller than evening news, then it’s time to sharpen the beveled edge.
Make sure the tools are completely dry before moving on to the next step, or else you’re headed for Rustville, and nobody wants to go there, trust me.
Step 4: Sharpening Process
Okay, now we’re getting to the meat and potatoes. The sharpening process. And let me tell you, safety first people—you gotta secure the tool before you start. Because the only thing scarier than a rusty tool is a rusty tool that’s flying at your face.
A sturdy workbench or good ol’ fashion clamp will do the trick. Just make sure you’re comfortable and the tool is secure.
You don’t have to go nuts with the sharpening, alright? We’re not looking for a sword straight out of a kitchen knife commercial. Instead, focus on a rust-free, evenly shaped edge. Once the tool’s edge looks sharper than your wit at Thanksgiving dinner, you’re all set!
Step 5: Re-shaping the Tools as Needed
There’s always a moment when you get to take a step back and admire your handiwork. But sometimes, you gotta step in and do a little reshaping. You see, a misaligned tool is like trying to cut a steak with a spoon. No matter how sharp it is, it won’t work.
So, look over your tools after you’ve had your sharpening spree. If you got a blade resembling a banana more than a straight edge, now’s the time to correct it. Throw in a little love on the pivot point with some oil and you’ve got yourself a shiny, happy tool ready to take on the meanest, greenest garden!
Step 6: Oiling the Tools for Durability
Anything with moving parts needs oil – and garden tools are no exception. That old wisdom holds especially true for those with wooden handles and loose bolts. Let’s start with the wooden handles, shall we?
Just like that old wooden rocking chair on your porch, these handles get dry and weary over time. A good oiling helps hydrate them, adding years to their lifespan, and saving you from nasty splinters. Just a touch of oil, rubbed in with a cloth, is all you need.
As for those pesky loose bolts – a drop or two of oil keeps the rust at bay. ‘Coz, let me tell you, there’s nothing like a rusty bolt to put a cramp in your garden-grooming style.
Frequently Asked Questions
1. How often should I sharpen my garden tools?
Well, that depends on how much you use them. But a general rule of thumb is, a touch-up mid-season keeps them sharp as a bird’s beak. For heavy-duty tools and those in constant use, you might need to sharpen them more frequently to keep them in their prime.
2. I still find rust on my tools even after oiling. What to do?
Fine sandpaper or a wire brush does wonders for that irksome orange stuff. Rub it gently on the rusted part, apply oil, and voila, your tool is as good as new!
3. How do I prevent wooden handles from splitting?
It’s all about hydration, buddy. Applying a light coating of linseed oil seasonally keeps those handles smooth and splinter-free.
Tips & Tricks in Garden Tool Sharpening
So, you’re ready to be a samurai in your garden, eh? Just remember, sharpening garden tools is no cakewalk.
Proceed with caution when you sharpen shears or that cutting blade. One slip and there’ll be more than hedges bleeding. Use safety gloves and, please, work in a well-lit area.
Watch out for plant debris and light rust. Here’s a tip: before you start sharpening, a good wash with good old soap and water cleans the stage for your sharpening act.
Last but not least, never use a dull file or stone. That’s like trying to open a can of beans with a spoon. It won’t work.
Conclusion
Let me cut to the chase – sparkly clean and sharp tools can take your gardening game from good to grand slam. Fussing over dull hand tools is like trying to slice a ripe tomato with a butter knife, frustrating and fruitless.
Regular tool sharpening, with the help of a trusty sharpening file, can make your garden chores easier and significantly reduce the risk of injury. Just picture it like this – a sharp tool is like your favorite sharp-witted buddy, reliable and ready to make your life easier.
Also, wire wool and stiff wire, are pure magic when you need to scrub off stubborn dirt and rust off your treasured garden tools. With these kids all sharpened and ready, you’ll be cutting through those chores like a cheese grater through mozzarella.
I’m John, a “seasoned citizen” and an avid gardener. I live in Minnesota, where our weather and growing conditions can be harsh and challenging. Over the years, I have learned a thing or two about being successful in growing things. I have curated these tips, which I think are helpful for the beginning gardener and the seasoned experts. If you have feedback, let me know in the contact form.